Customer Relation Management (CRM) Walkthrough

Written by Shabron Gaynor
Updated at July 17th, 2023
- Agent Elite University
- My Account
- Design Studio
- Local Presence
-
Website
CRM - Real Estate Real Estate Specific (Click here for a full list of articles) Email Marketing Automation and Integration (Click here for a full list of articles) Integrations Landing Pages Single Property Websites & Flyers Blogs Mortgage Specific (Click here for a full list of articles) Analytics IDX Search Engine Optimization (SEO) Team Marketing Automation
- Facebook Ads
- Agent Elite Max
Table of Contents
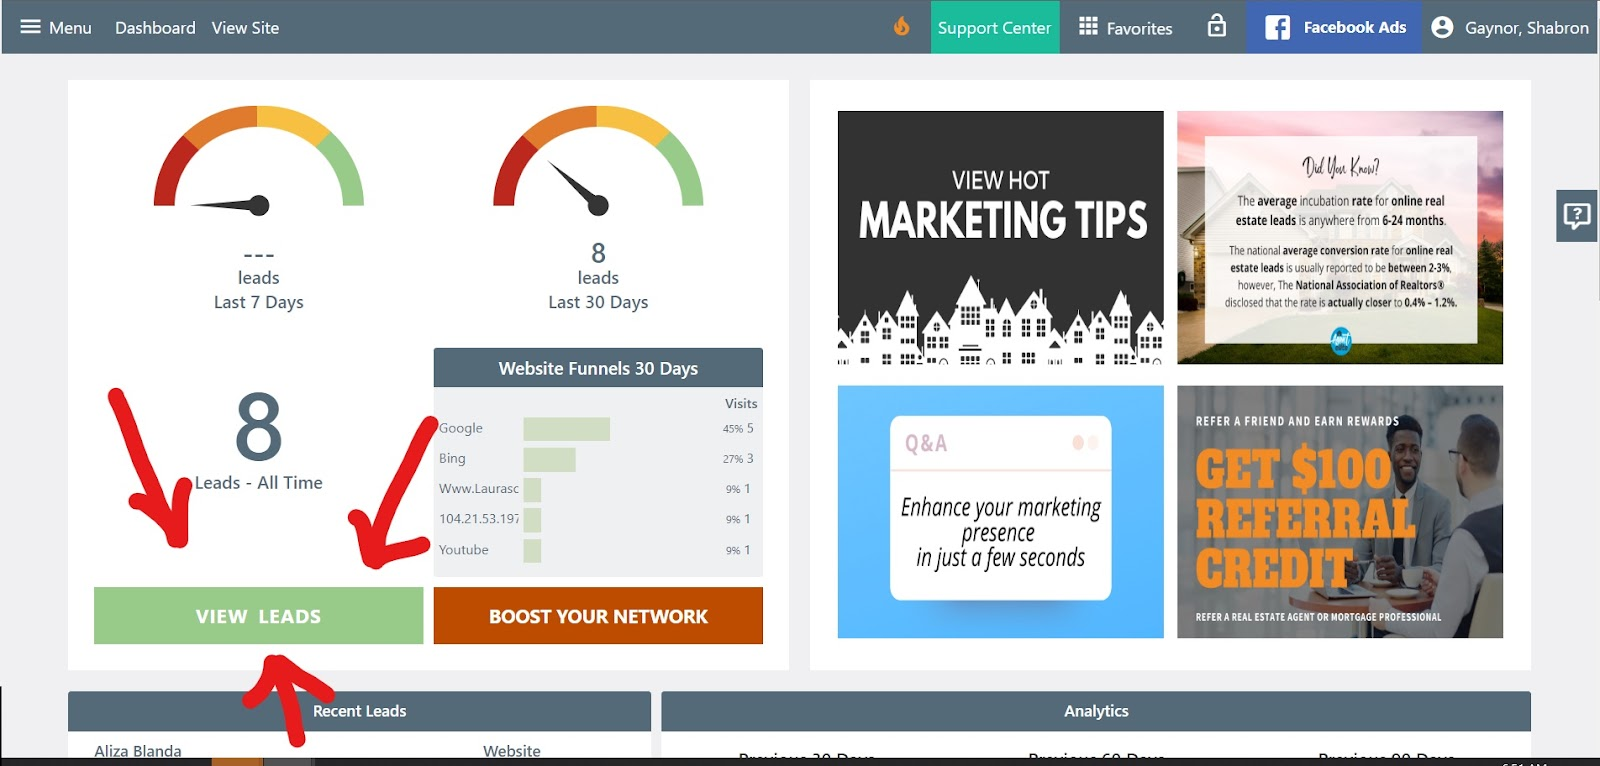
Step 1. To get to your CRM, on your dashboard click the green VIEW LEADS button
Step 2. This is the home page of your CRM. You will see all Recent lead activity on the dashboard of your CRM.
Step 3. Click on LEAD LIST on the left-hand side to access your complete list of leads
Step 4: Click on a Contact’s name
Step 5: Click on Subscriptions (Skip if the package does not include subscriptions)
Step 6: Click on “Communications” at the top of the page with the paper airplane symbol (Skip to step 10 if the package does not include communications)
Step 7: Click on Marketing Automation
Step 8: Click on “Buyer Follow Up”
Step 9: Click on “Auto-Response”
Step 10: Click on the house symbol at the top of the page that says “listings”
Step 11: Click on Supplemental
Step 1. To get to your CRM, on your dashboard click the green VIEW LEADS button
Step 2. This is the home page of your CRM. You will see all Recent lead activity on the dashboard of your CRM.
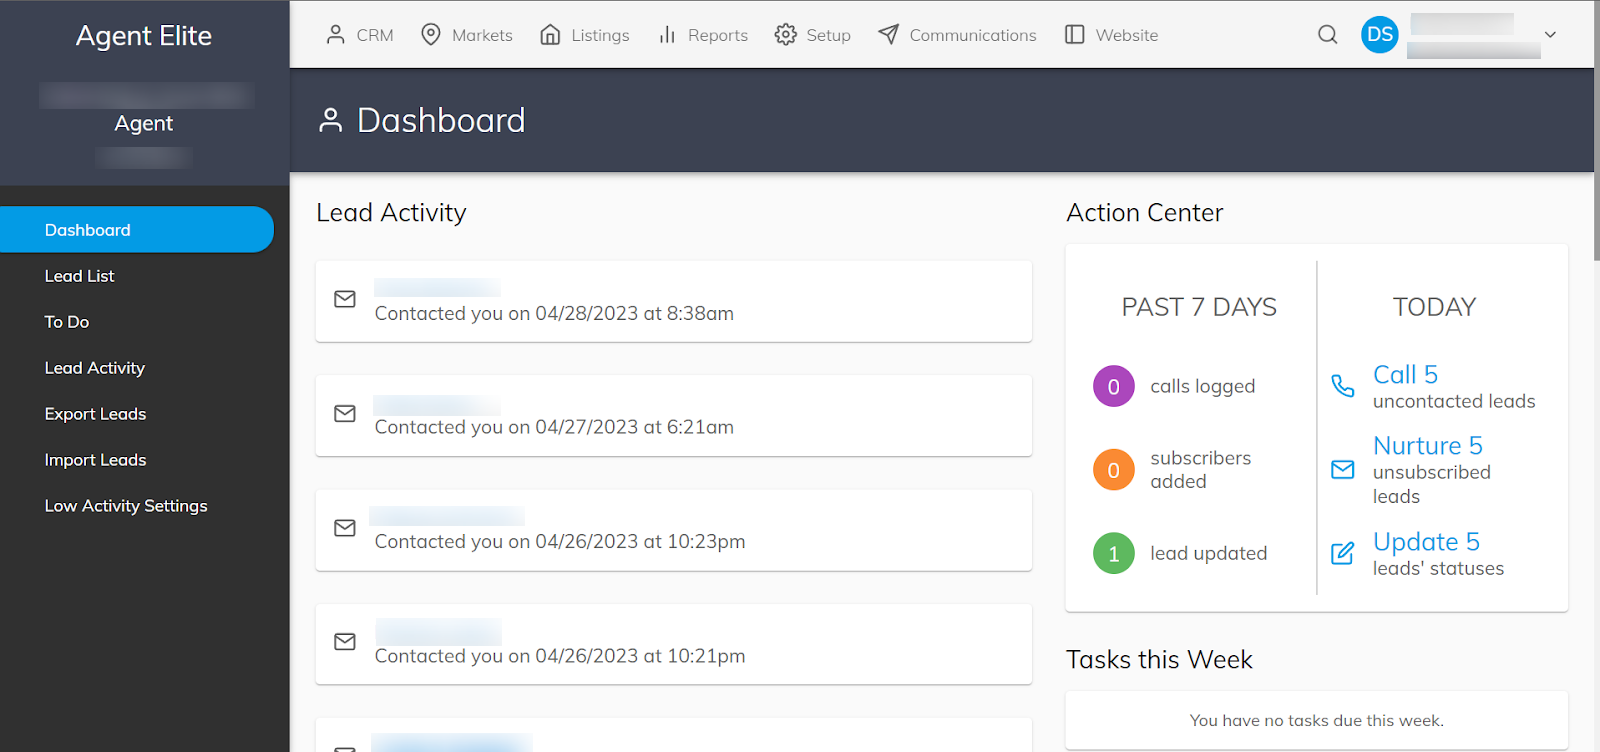
Step 3. Click on LEAD LIST on the left-hand side to access your complete list of leads
- Source: Where did the lead come from
- Created: When they were created
- Rating: How often they click through your website, respond to your emails, and look at listings.

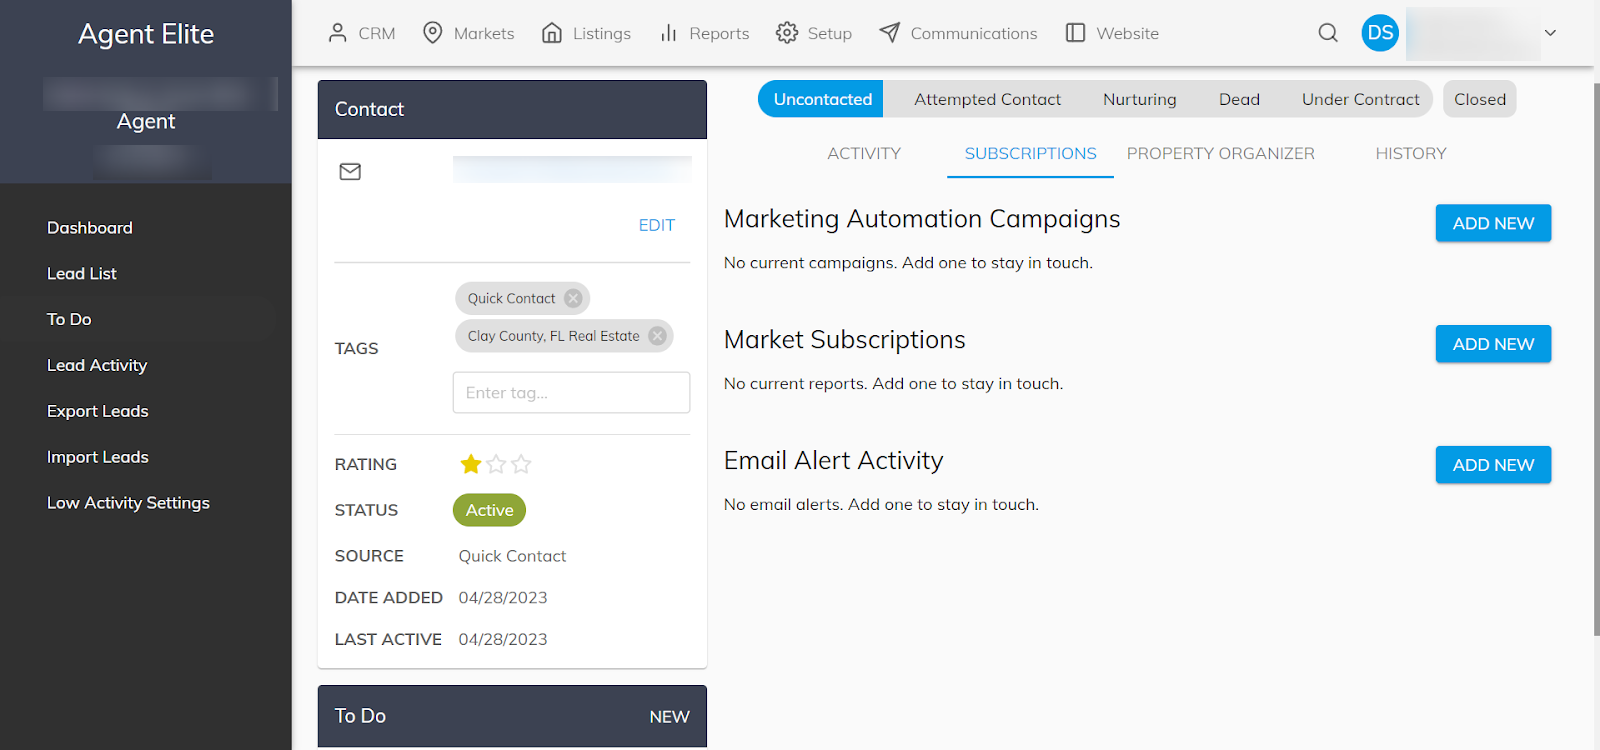
Step 4: Click on a Contact’s name
- This will open up their contact card. You will see their contact information.
- You can add “Tags” to the lead to separate them from the rest of your leads. This is good for sending emails to only a certain group of your leads.
- On the right, you will see the contact pipeline. This is for you to be able to set the stage that you and the lead are at from “uncontacted” to “close”
- You will all see the leads on activity under the “Activity” tab. If they message you or looked at a property, you will see it there.

Step 5: Click on Subscriptions (Skip if the package does not include subscriptions)
- Marketing Automation Campaigns: Automated emails that are sent to the lead when they are added to your CRM
- Market Subscriptions: Emails with market reports on areas. Price points for listings in an area.
- Email Alert activity: Saved Searches that you or the client can set up to get emails regarding the criteria of listings for the lead. Ex: 3 bed 2 bath house
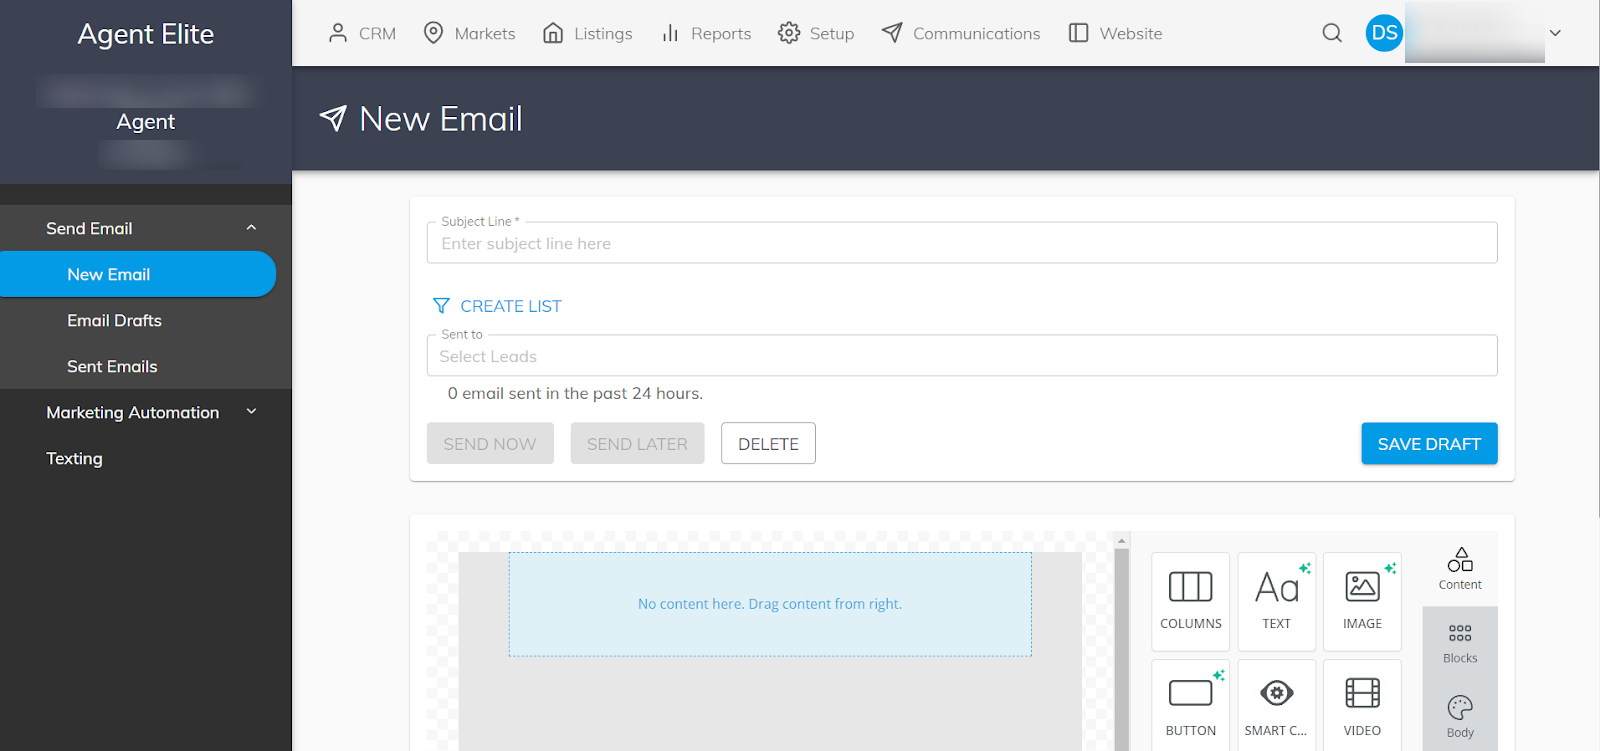
Step 6: Click on “Communications” at the top of the page with the paper airplane symbol (Skip to step 10 if the package does not include communications)
- This is where you will be sending emails to your leads.
- You can send them individually by typing their name in the “sent to” section
- If you want to send them to a group, click “Create List”. This is where your tags will come in handy!
- You can populate the message box by dragging in the boxes on the right.
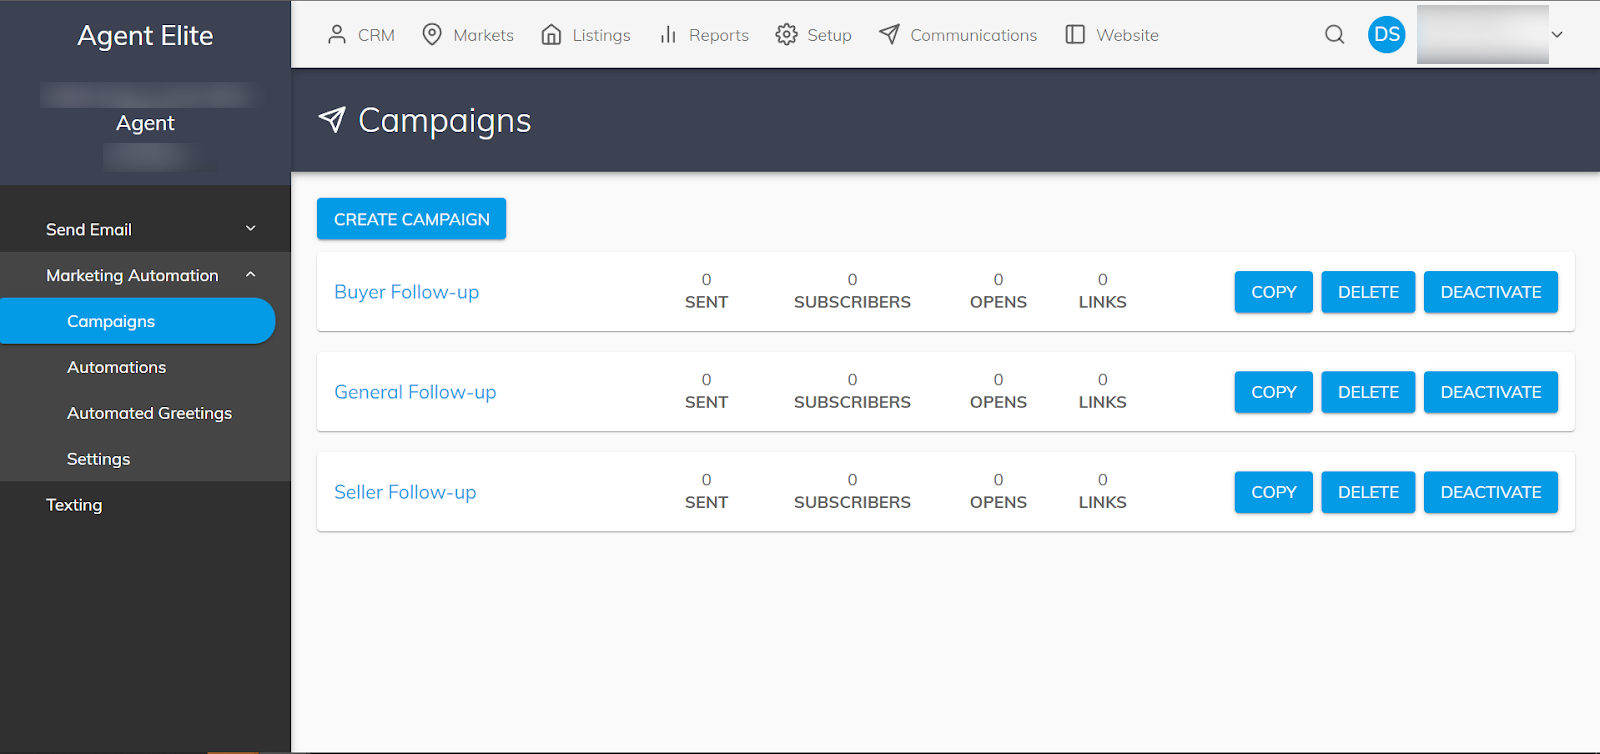
Step 7: Click on Marketing Automation
- You will see 3 campaigns.
- All new leads will automatically be added to the Buyer Follow up campaign
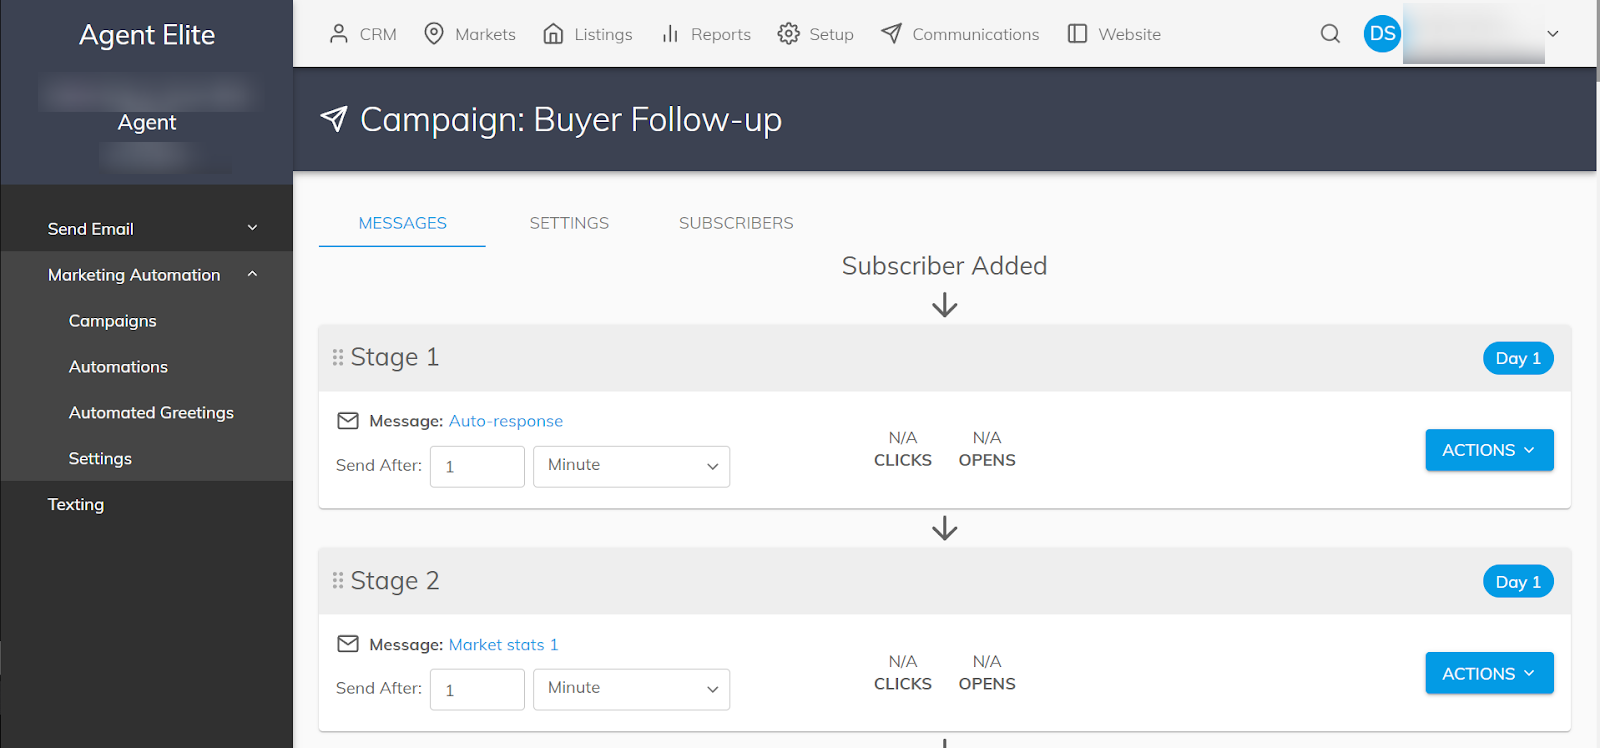
Step 8: Click on “Buyer Follow Up”
- You will see the stages that lead go through when they are subscribed to the “Buyer Follow-Up” campaign
- You can set the time these will go out to your leads next to the “Send After”
- You can also deactivate stages by clicking “Actions”
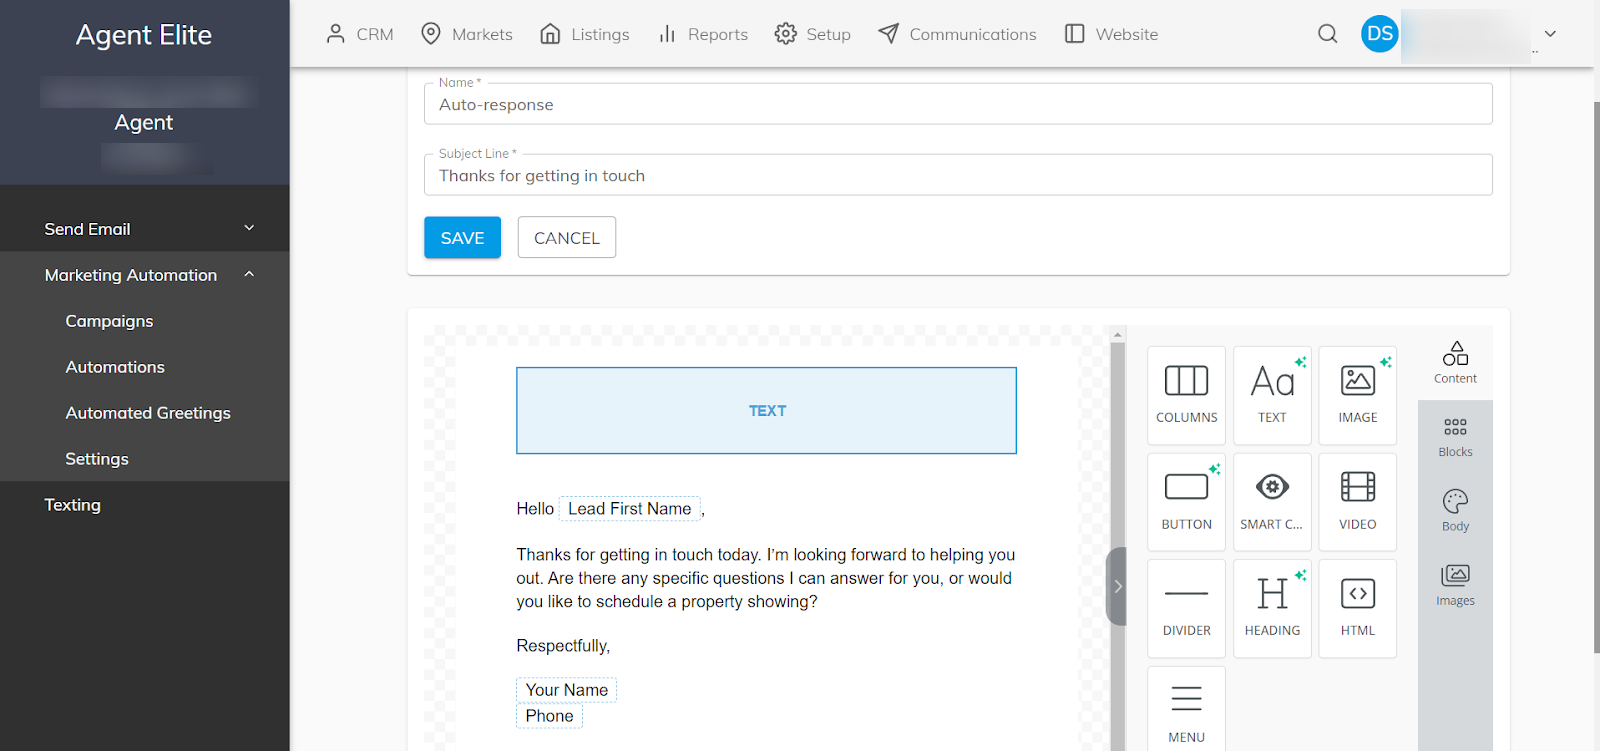
Step 9: Click on “Auto-Response”
- You will open up to the email that is sent to the lead
- It is suggested that you tailor the email to sound more like you and your personal brand.
- DO NOT change anything in the dotted line boxes, those are automatically filled with the leads information.
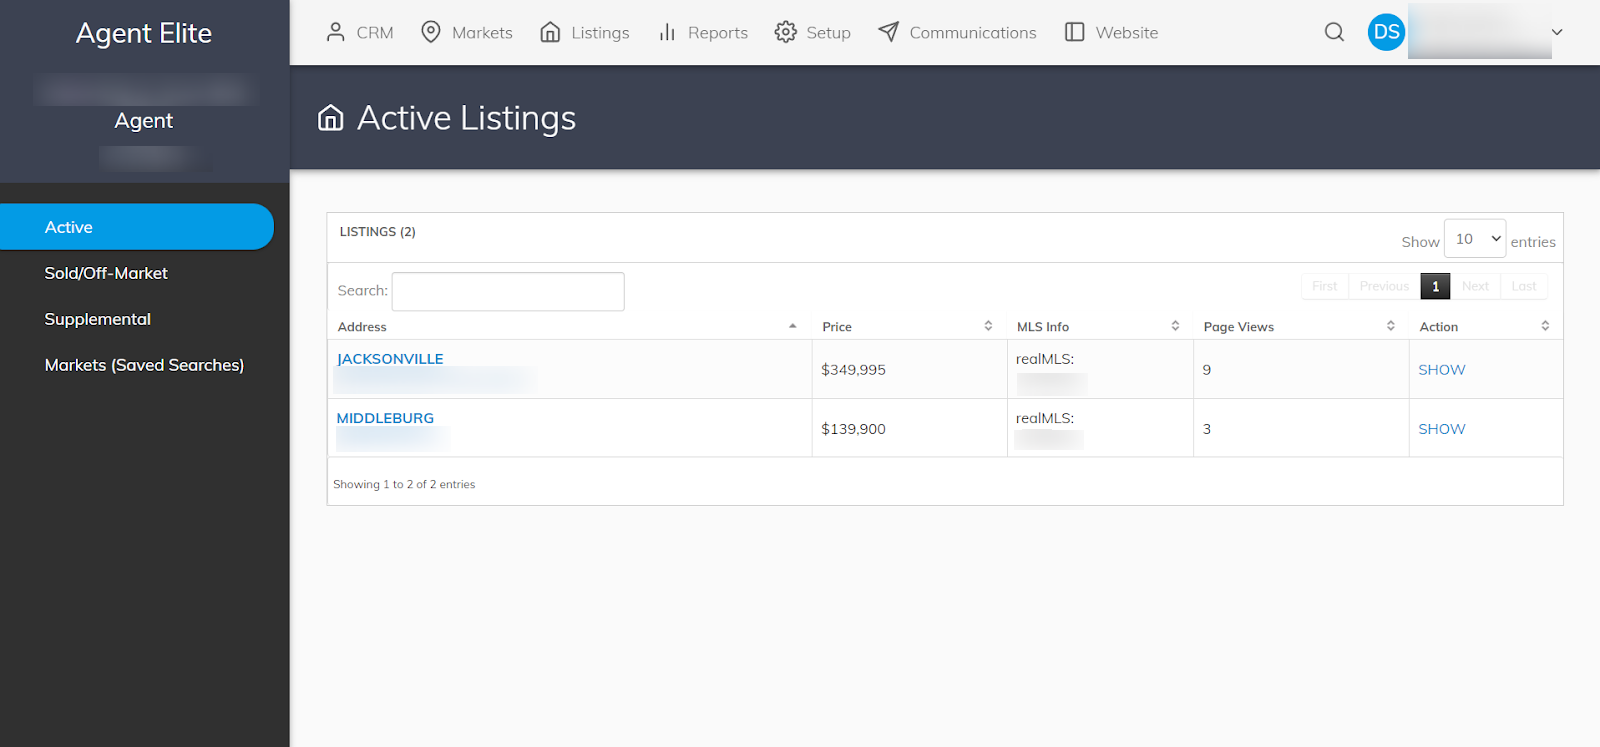
Step 10: Click on the house symbol at the top of the page that says “listings”
- This is where your active listings will appear once your IDX is approved.
- Sold listings will not populate in your CRM UNLESS, your MLS board does allow them to be shown on your website.
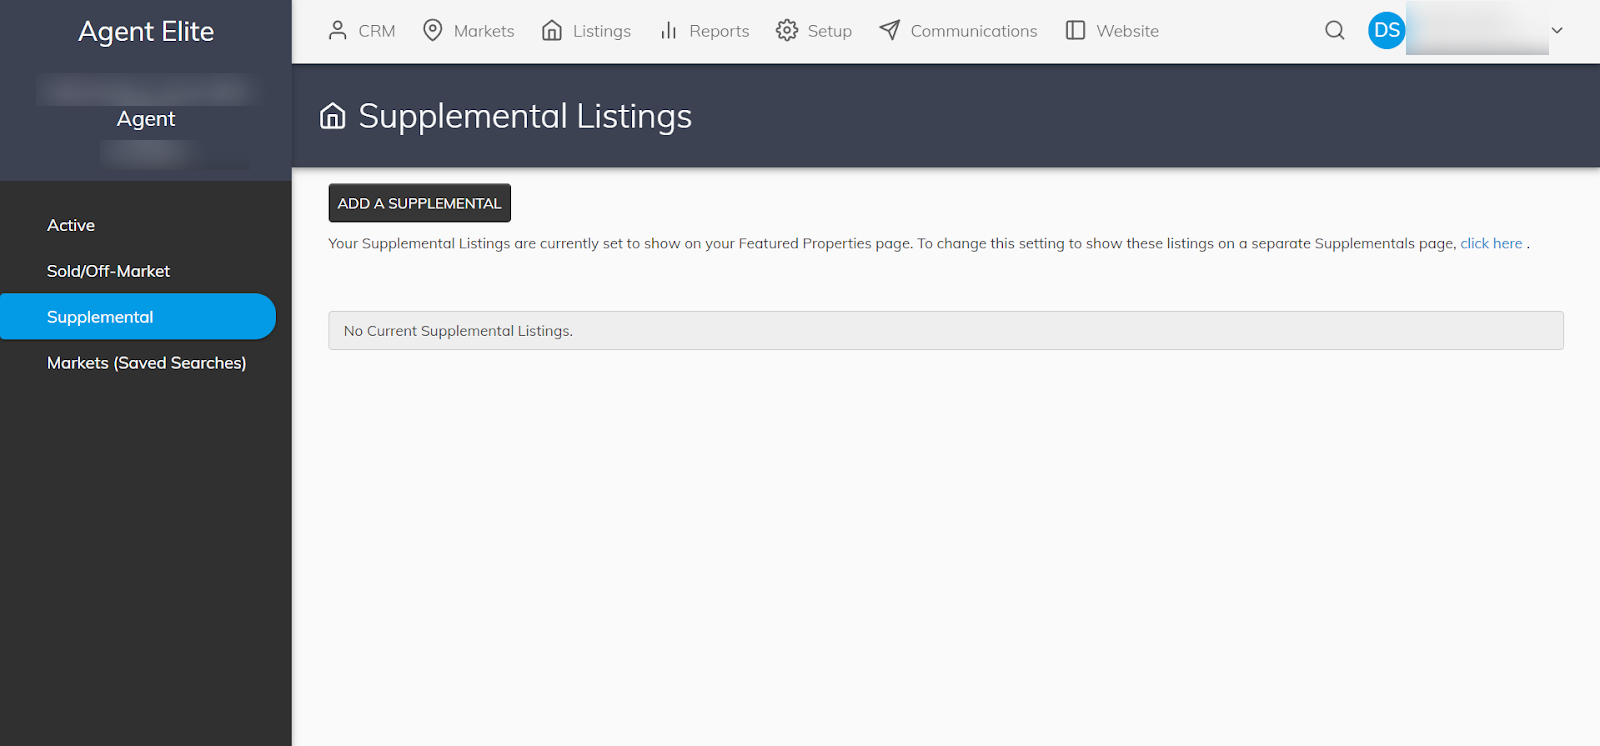
Step 11: Click on Supplemental
- This is where you will add listings that you do not want to be shown on the website (Your “Pocket Listings”)
- Once ready, you can then edit the listing to be shown on the website.
- Supplemental listings will always be shown in the “Featured Listings” section of your website.