Update Your Website With a Seasonal Look
- Agent Elite University
- My Account
- Agent Elite Max (CRM)
- Design Studio
- Local Presence
-
Website
Real Estate Specific (Click here for a full list of articles) Email Marketing Automation and Integration (Click here for a full list of articles) Integrations Landing Pages Single Property Websites & Flyers Blogs Mortgage Specific (Click here for a full list of articles) Analytics IDX Search Engine Optimization (SEO) Team Marketing Automation
- Facebook Ads
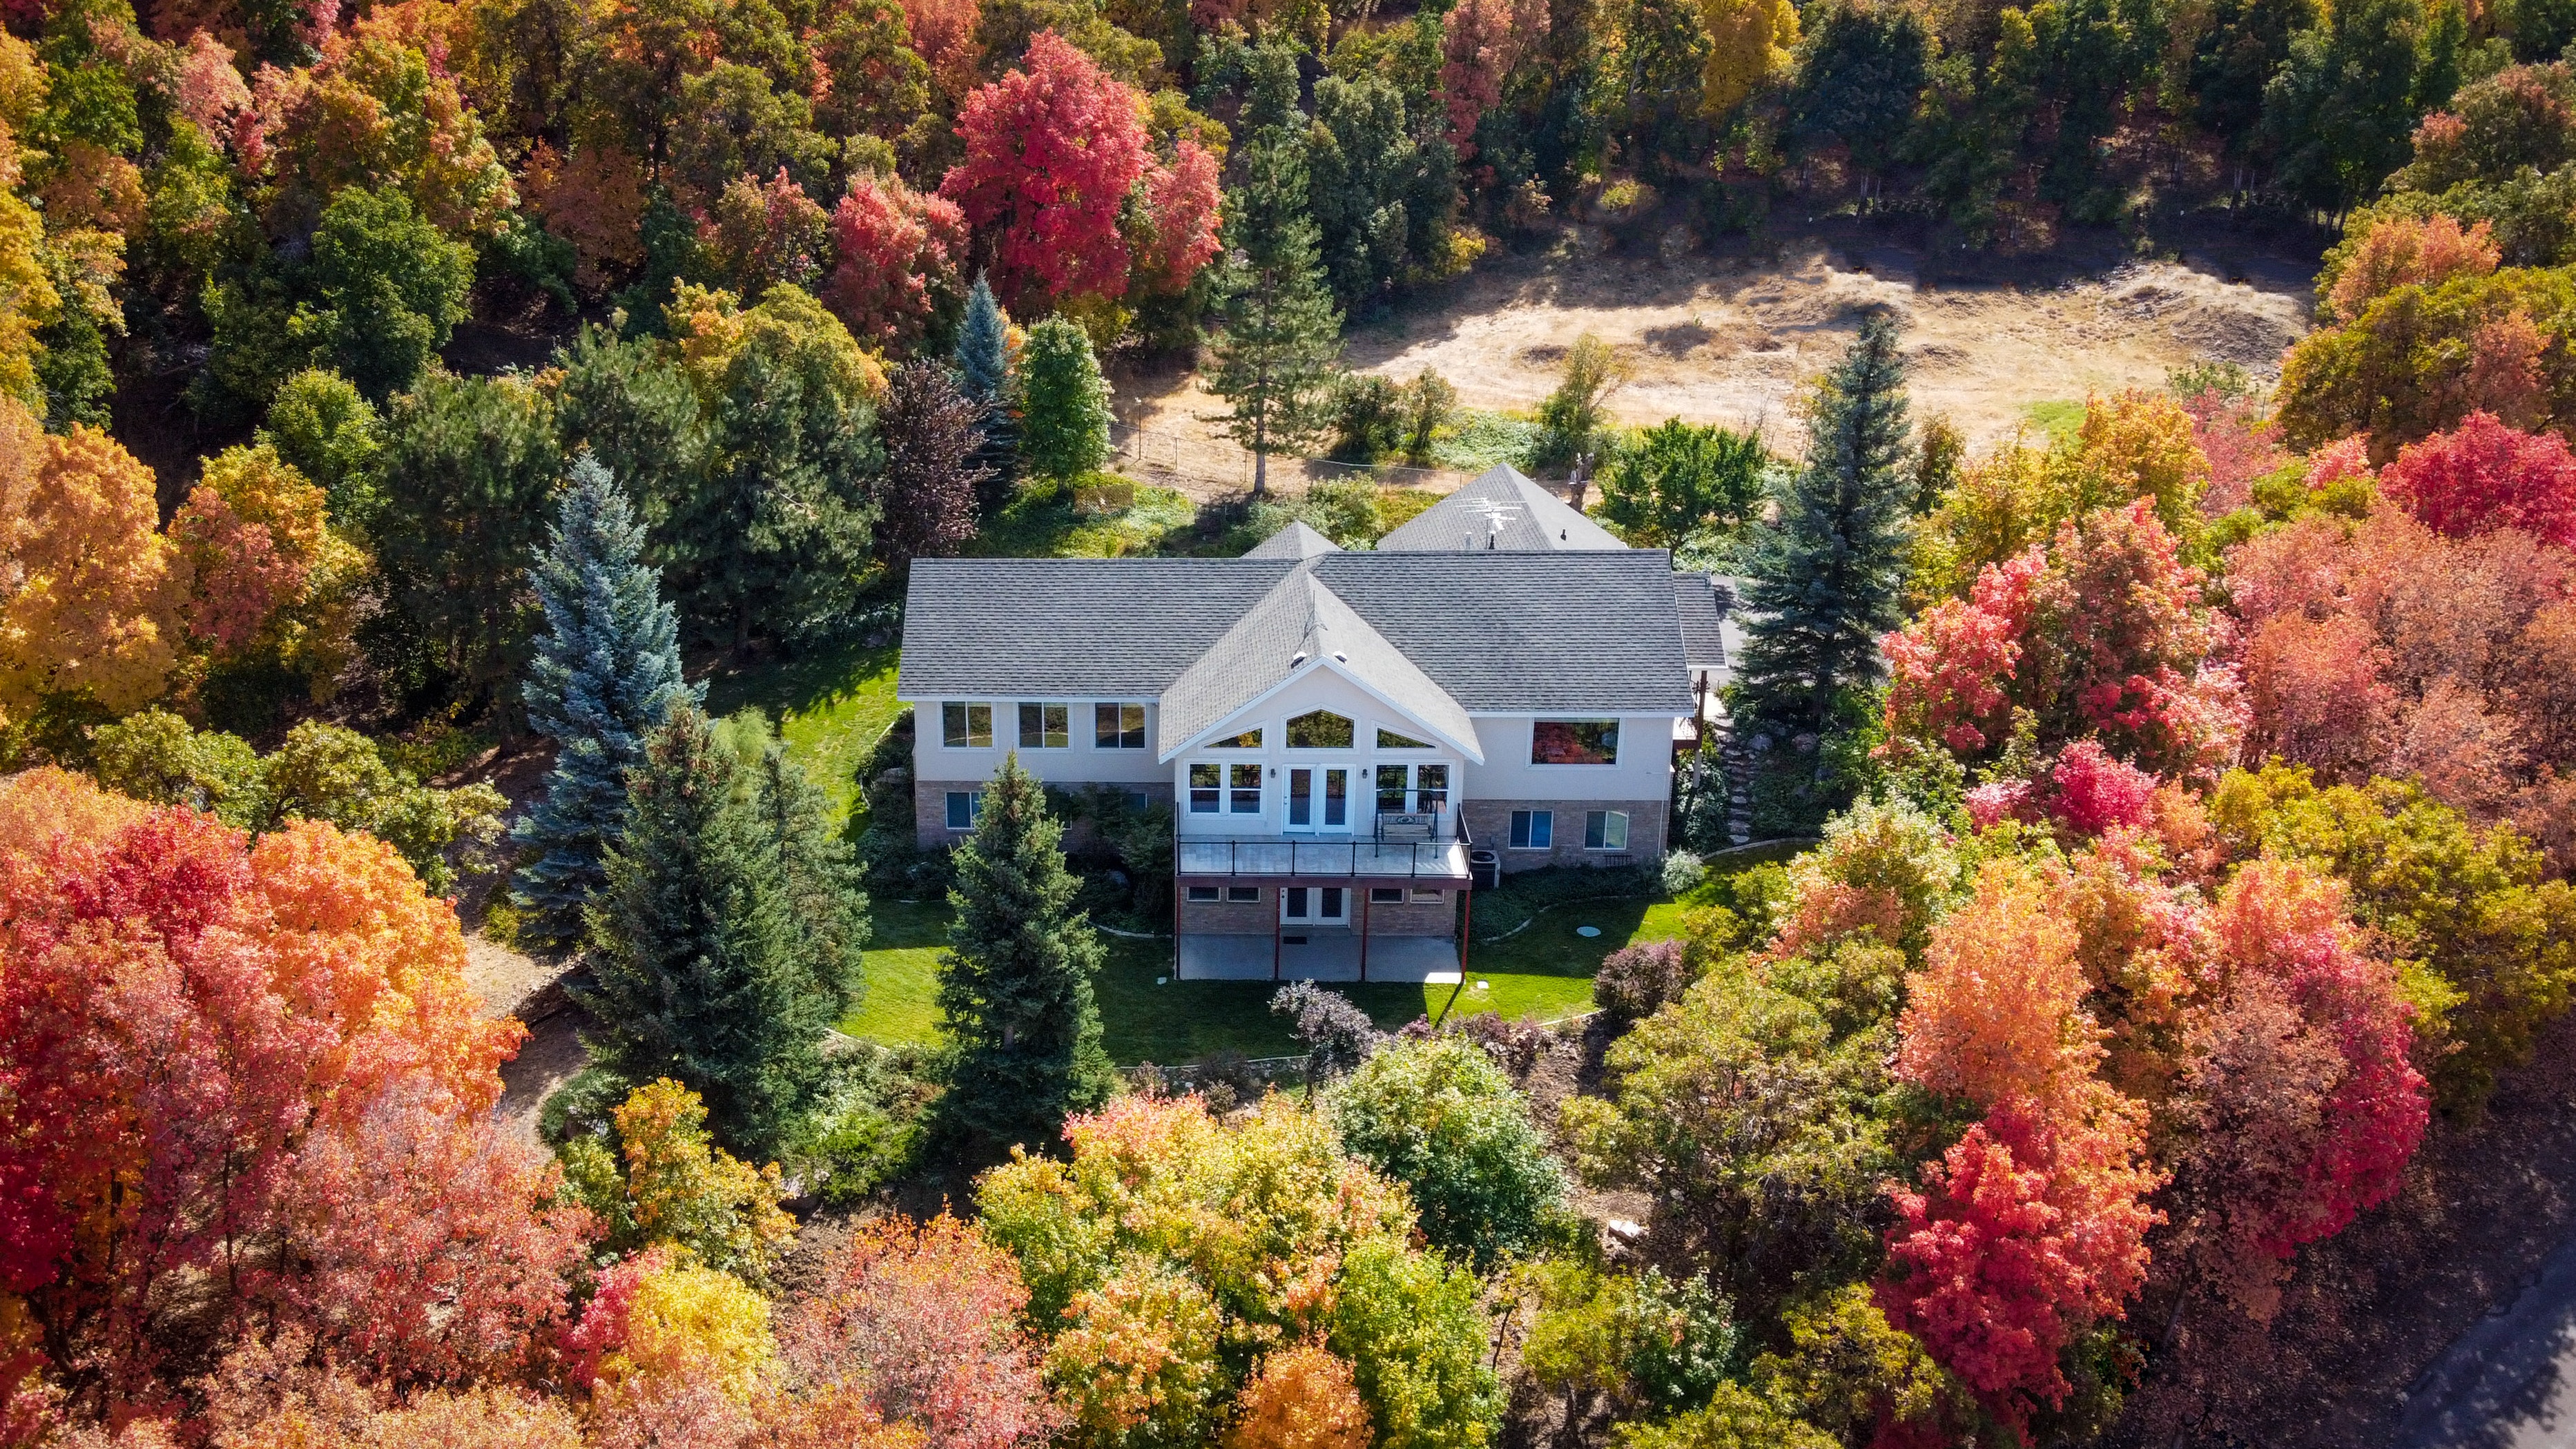
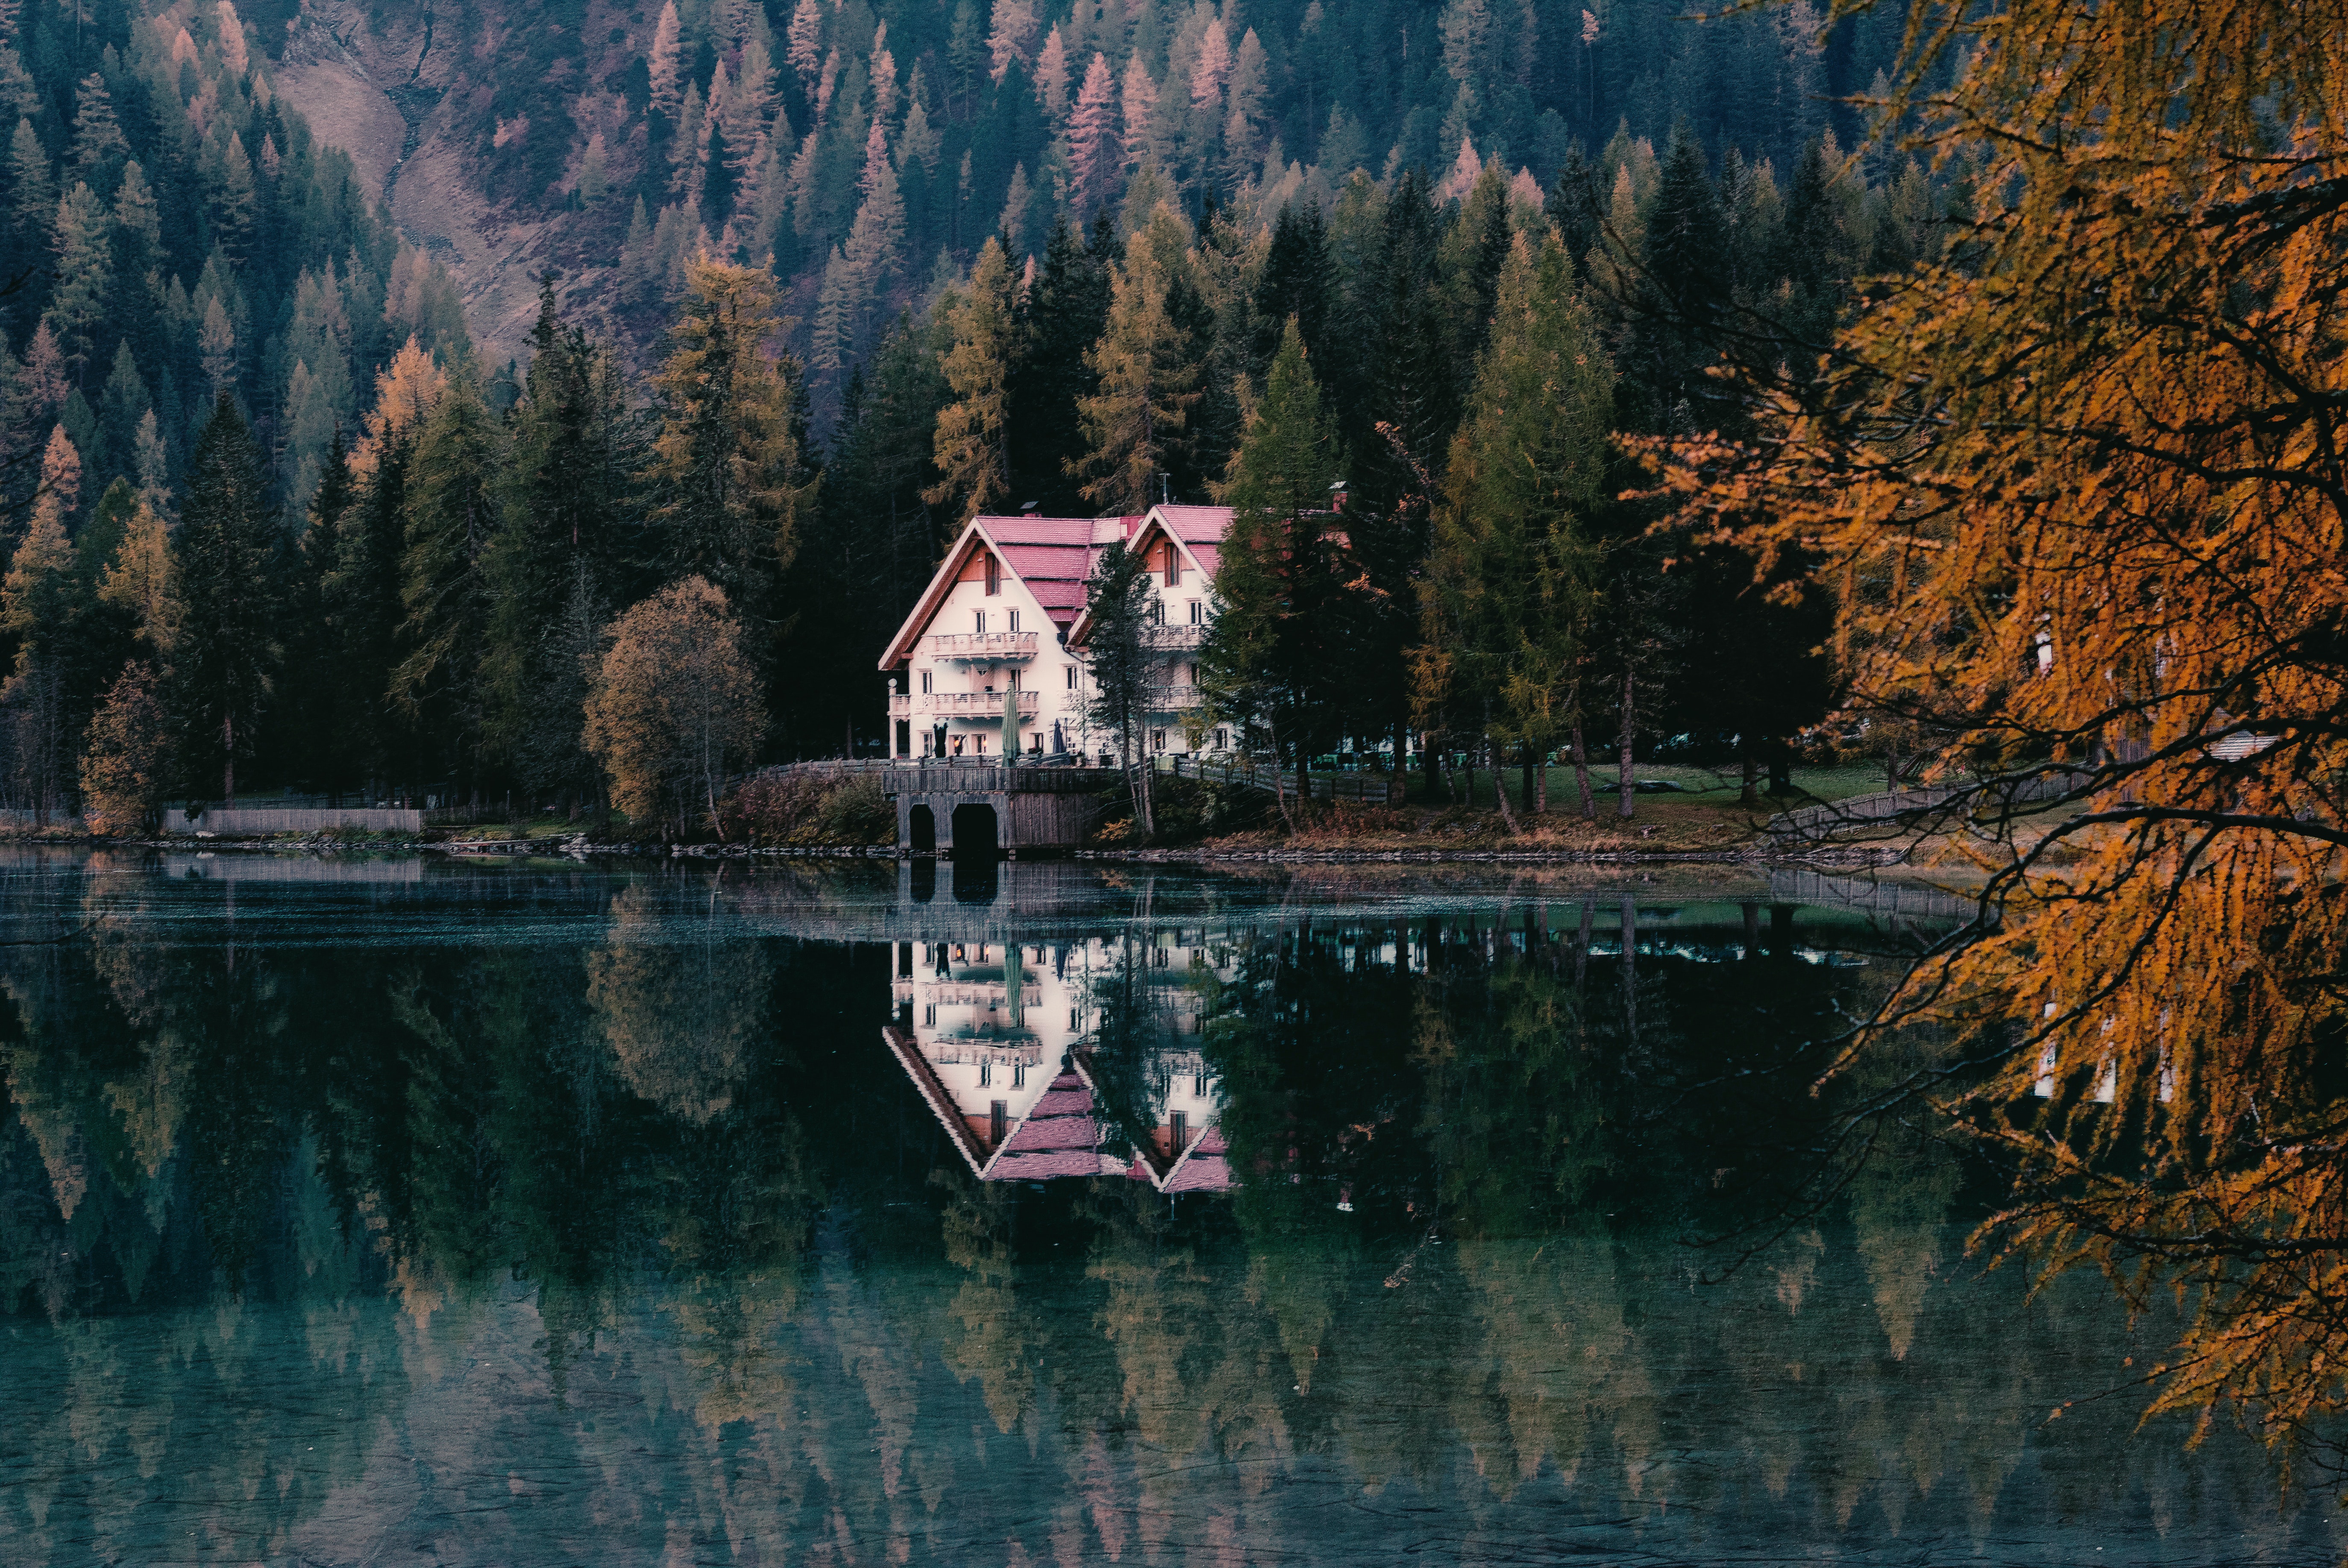
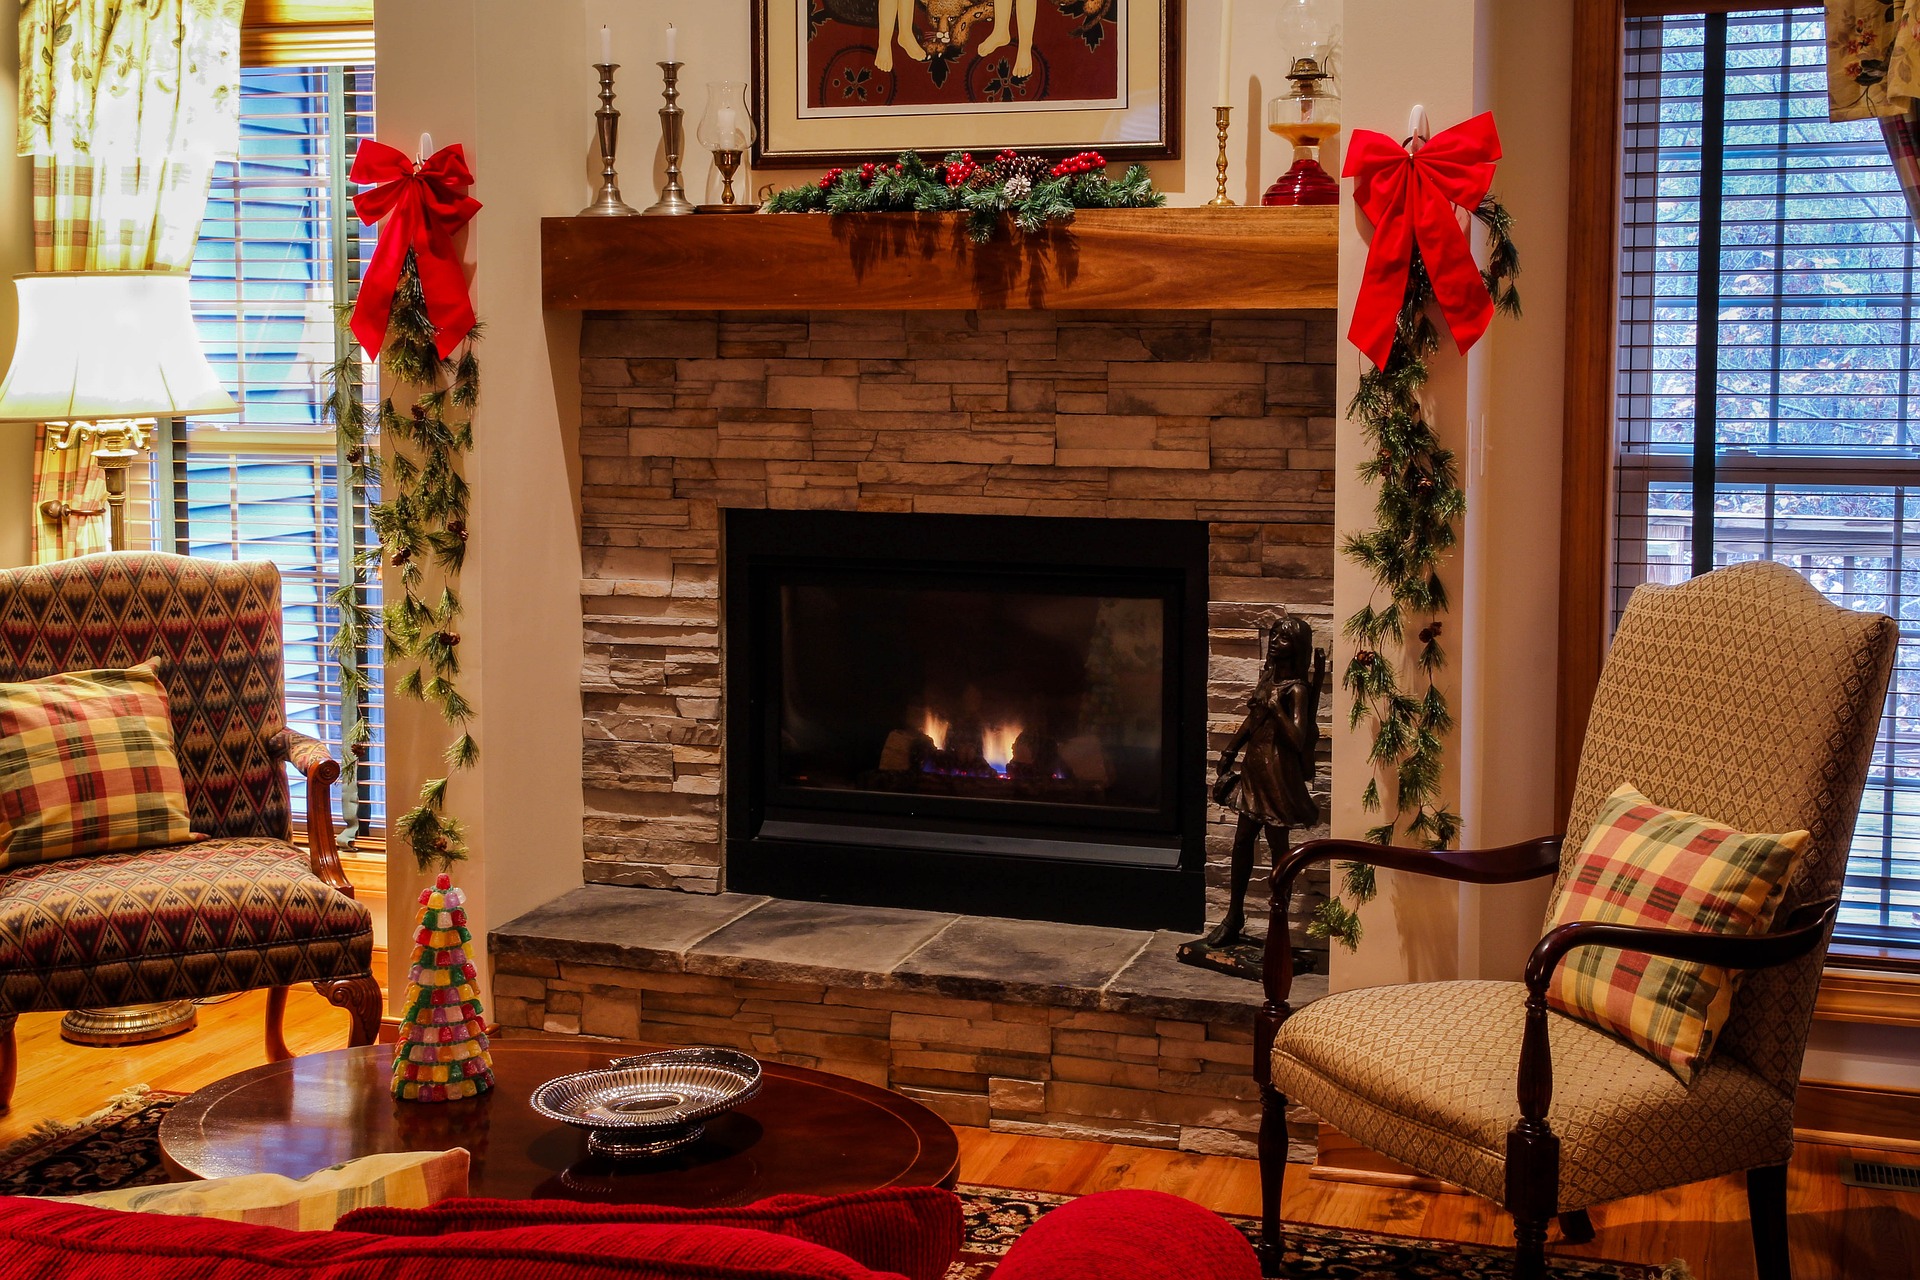
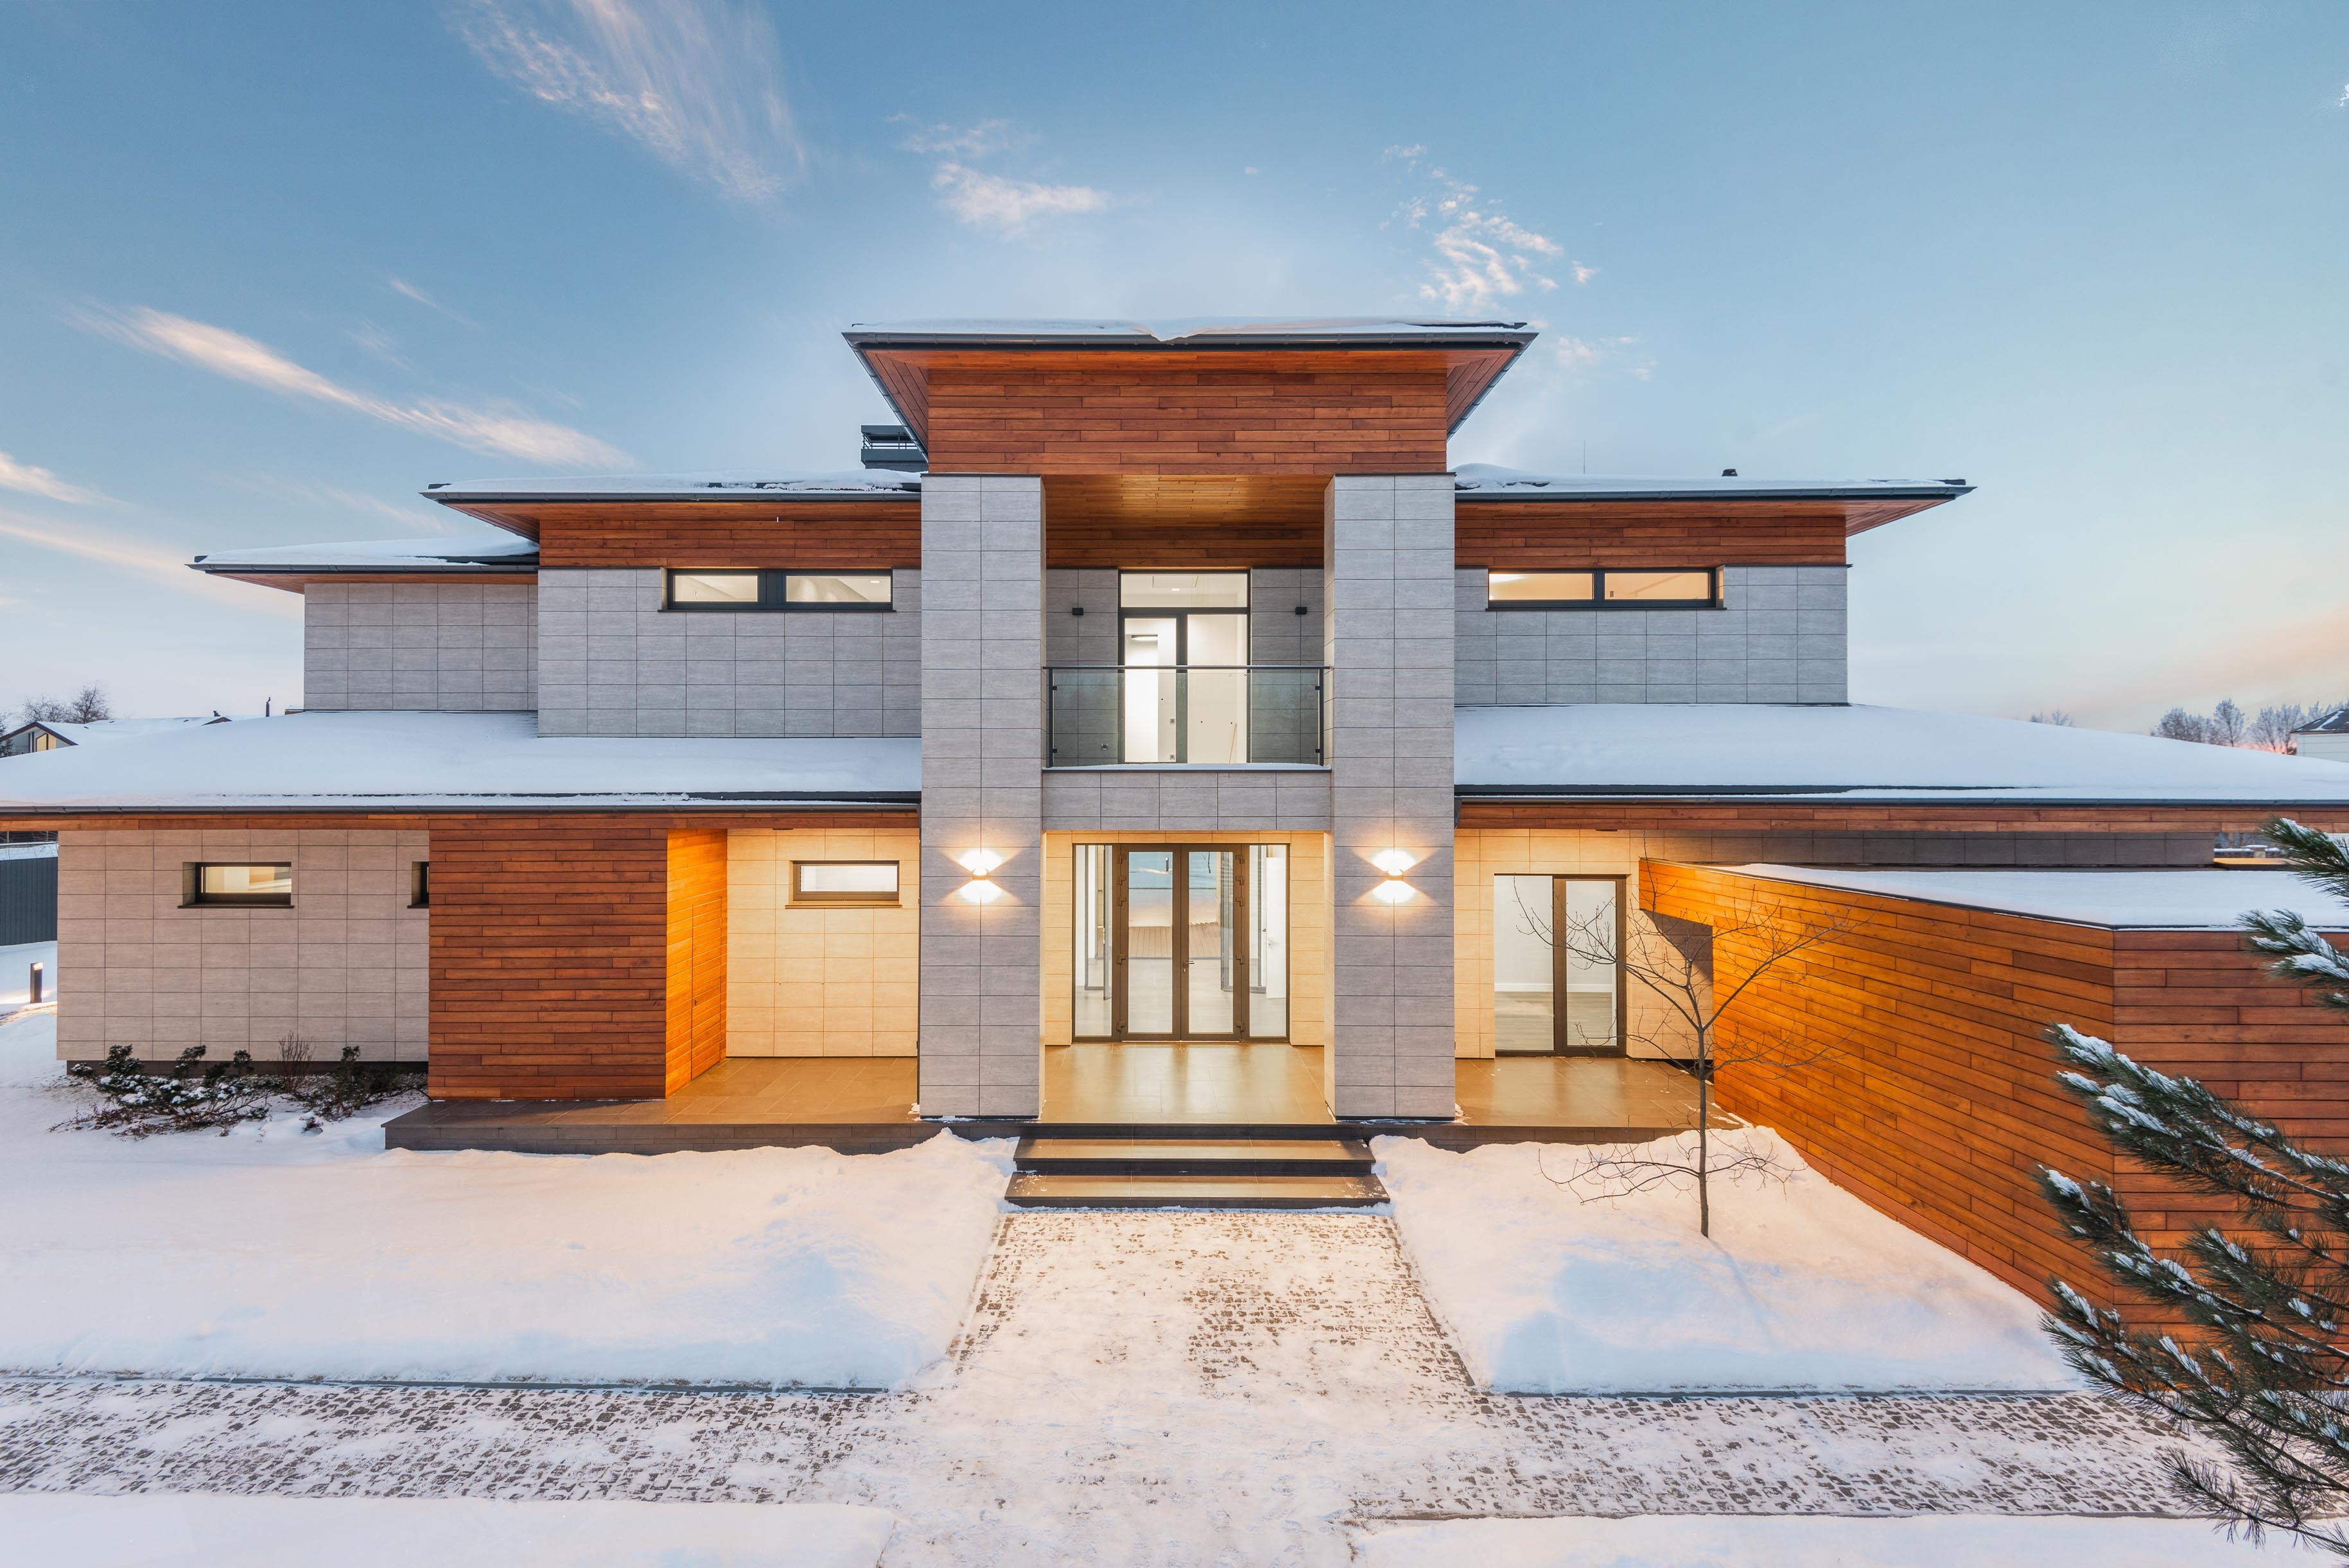
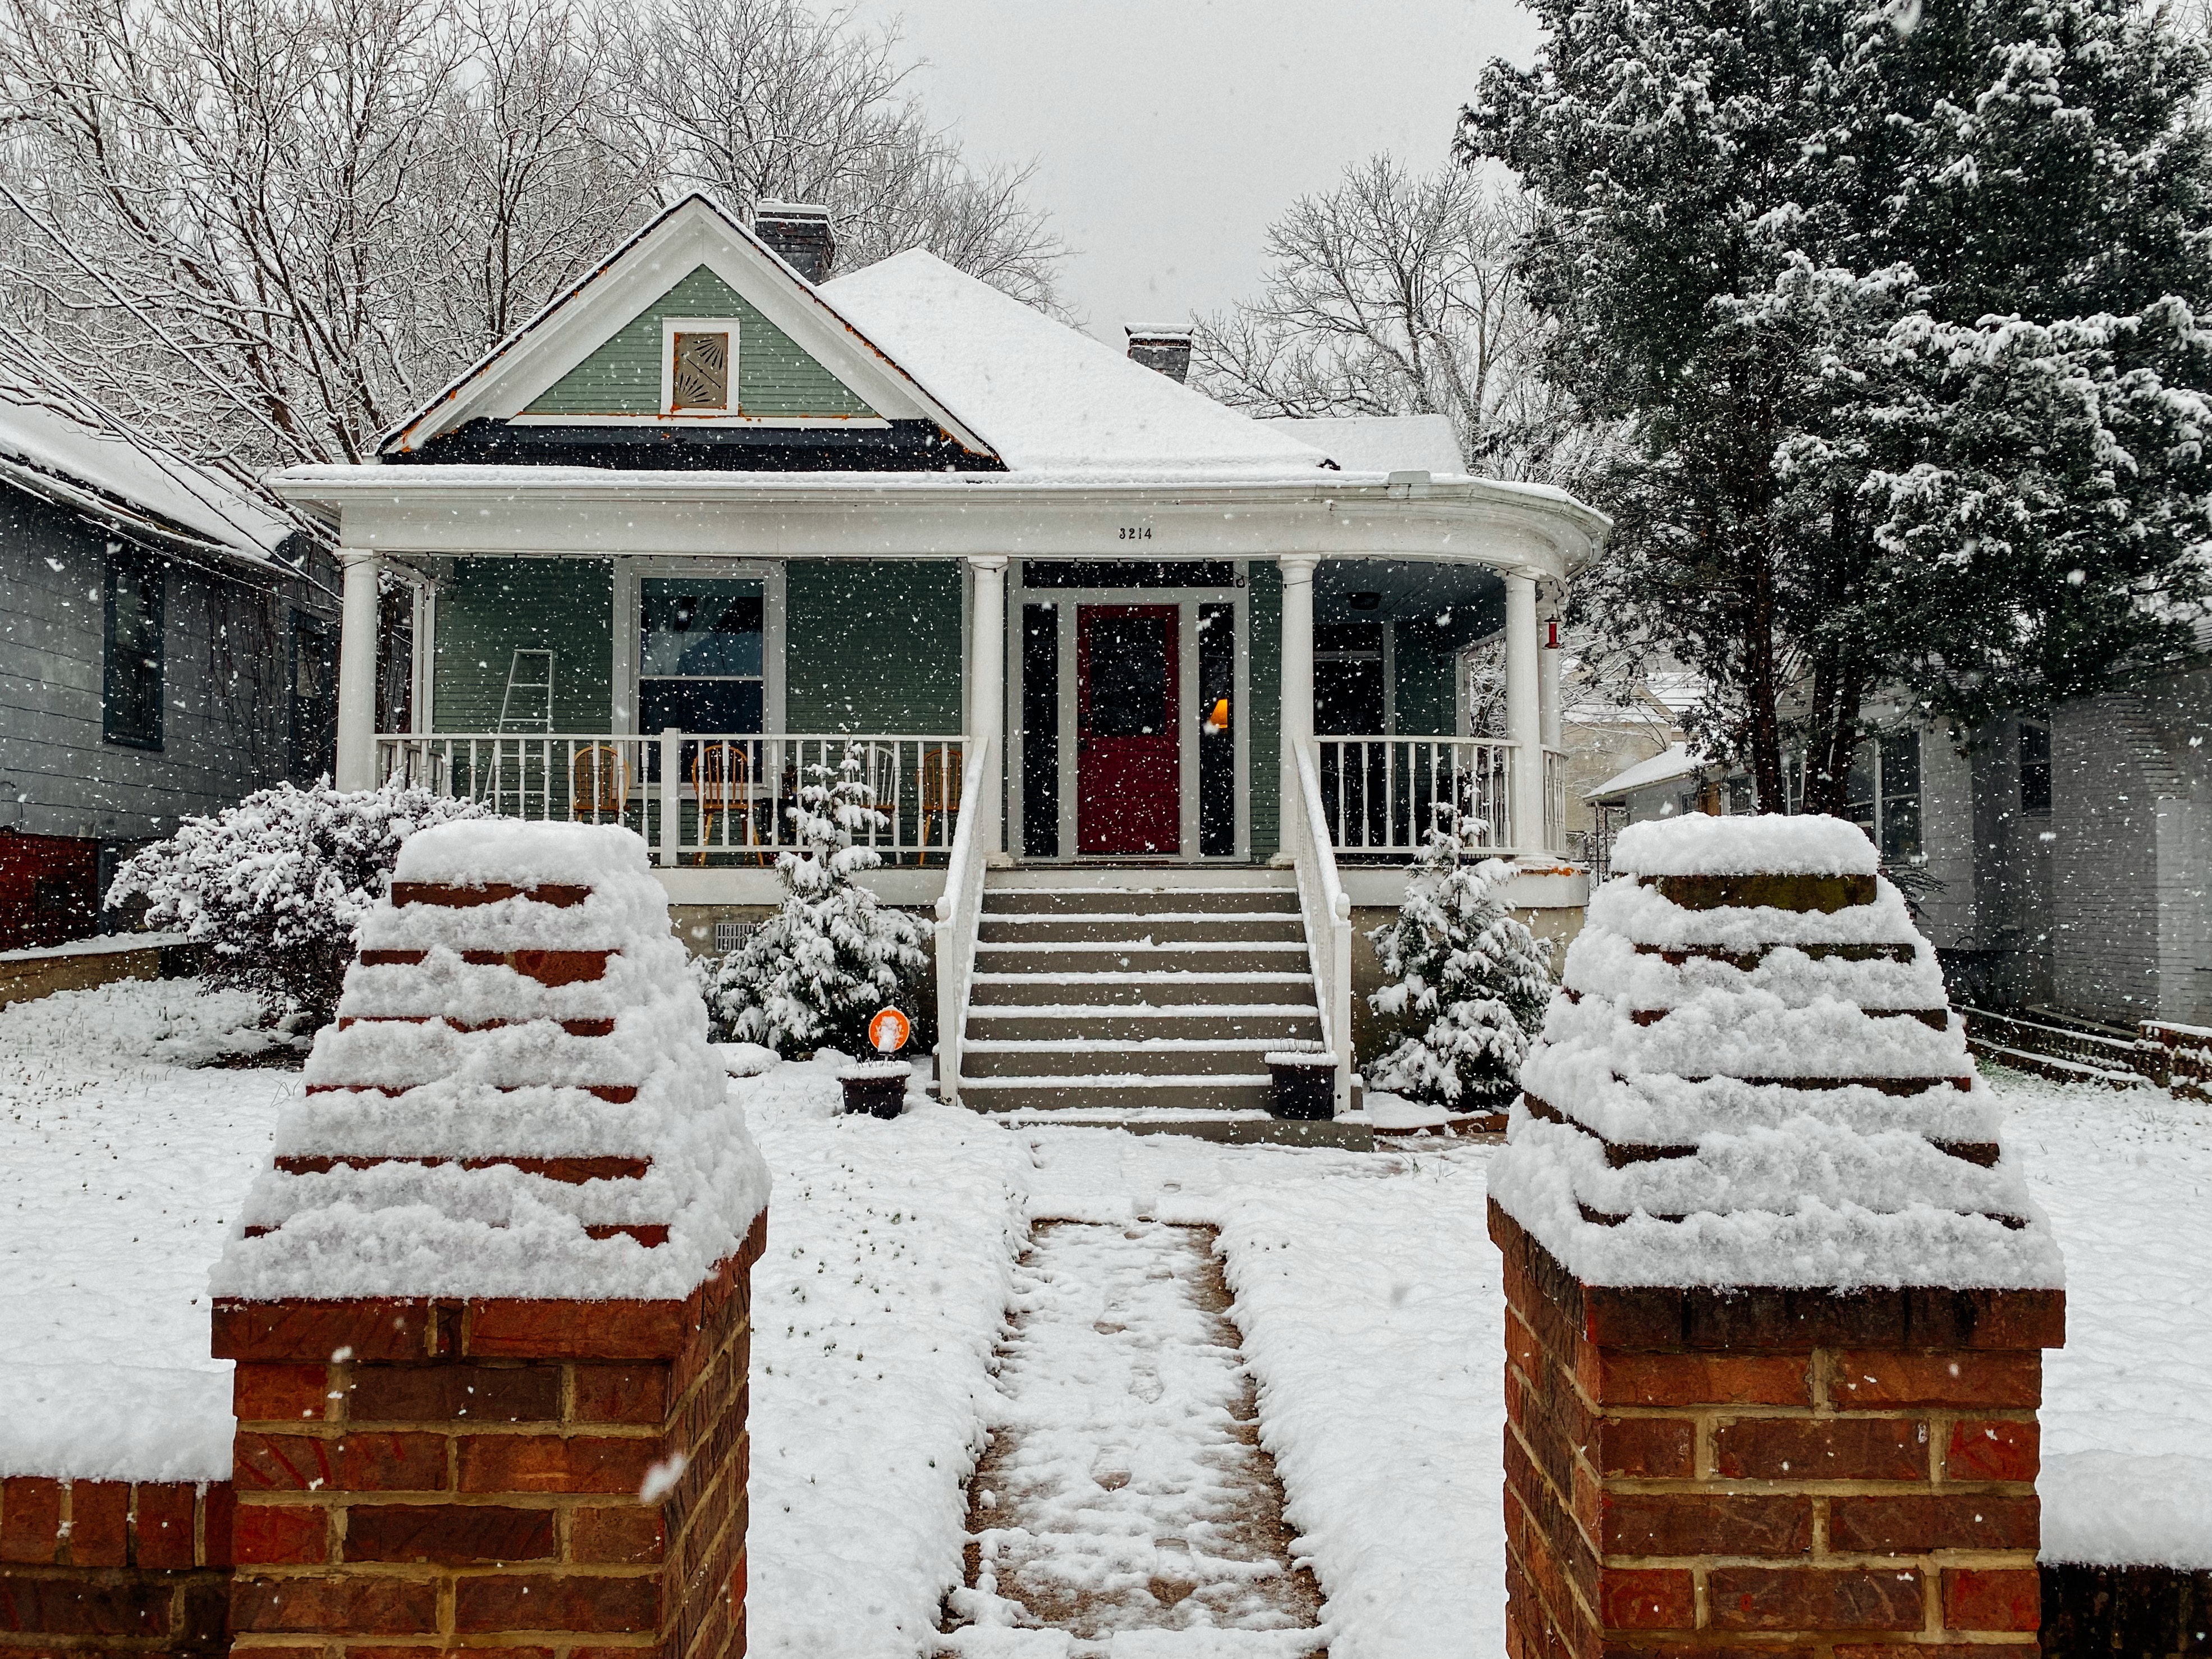
Did you know you could change the background image on your website to match the seasons?
You can right-click on one of the photos provided to download and then upload it into your media library. Instructions to switch out the photos are below. You can also use your own photo following the same steps.
Or call us, and we will do it for you!
Fall Photos




Winter Photos


Spring Photos
Tab Body
To begin, right-click on the image you'd like to add to your site and select “Save Image As,” then download to your computer. (You can skip that step if you are using your own image).
From your website dashboard, click on the Favorites waffle icon and then select Customize.

Select Front Page from the left menu.

Select General Options.
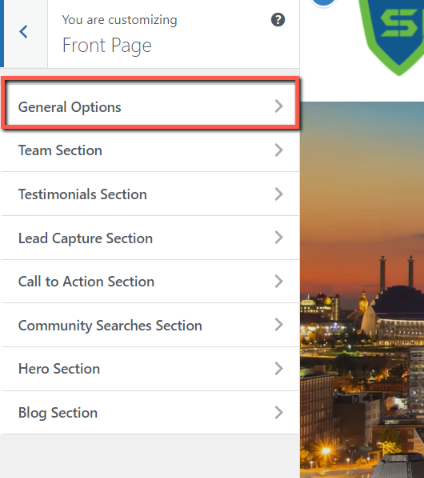
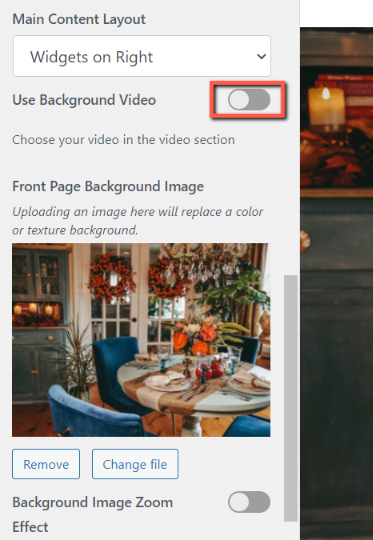
If you are currently using a background video, scroll down to Use Background Video and uncheck the icon. (If you already have a static image, skip this step.)
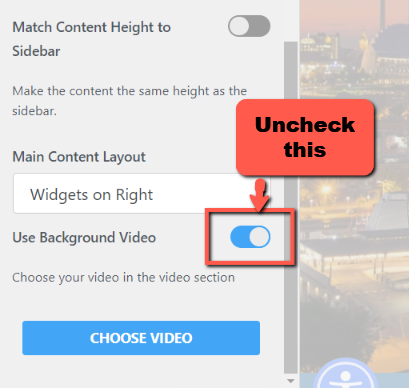
A section appears that says Front Page Background Image. Click on Select File.
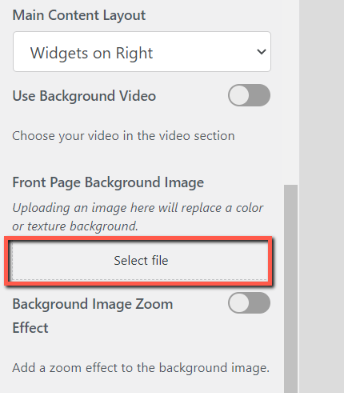
Click on Upload Files.

Either drag and drop your image or click on Select Files to upload.
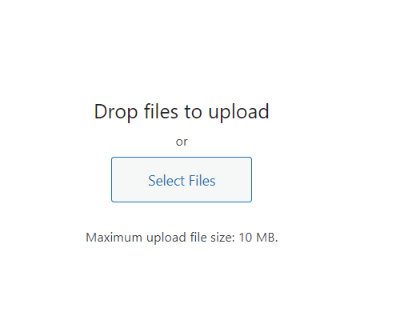
Upload your image.
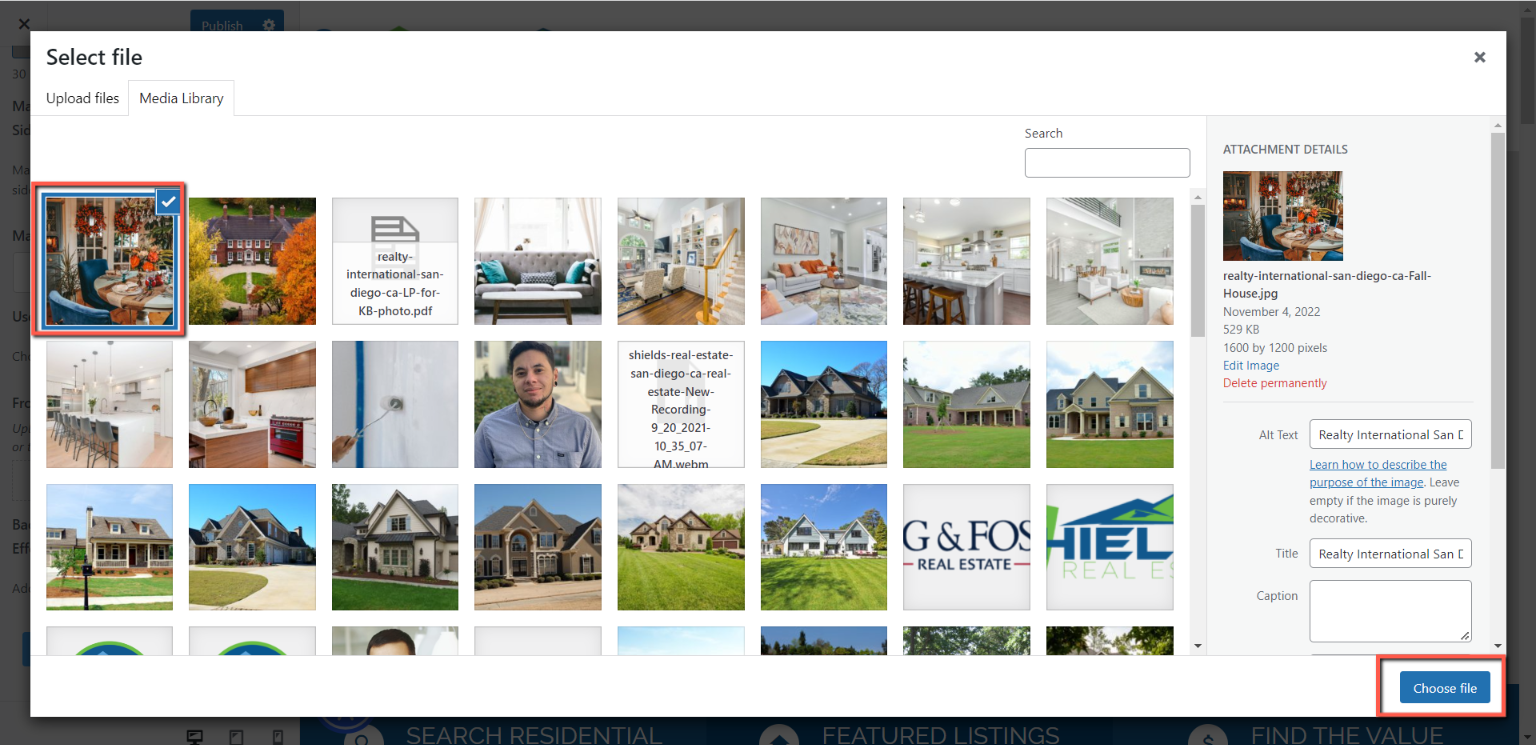
Your image will now appear in your media library. Select the image and then click on Choose file.
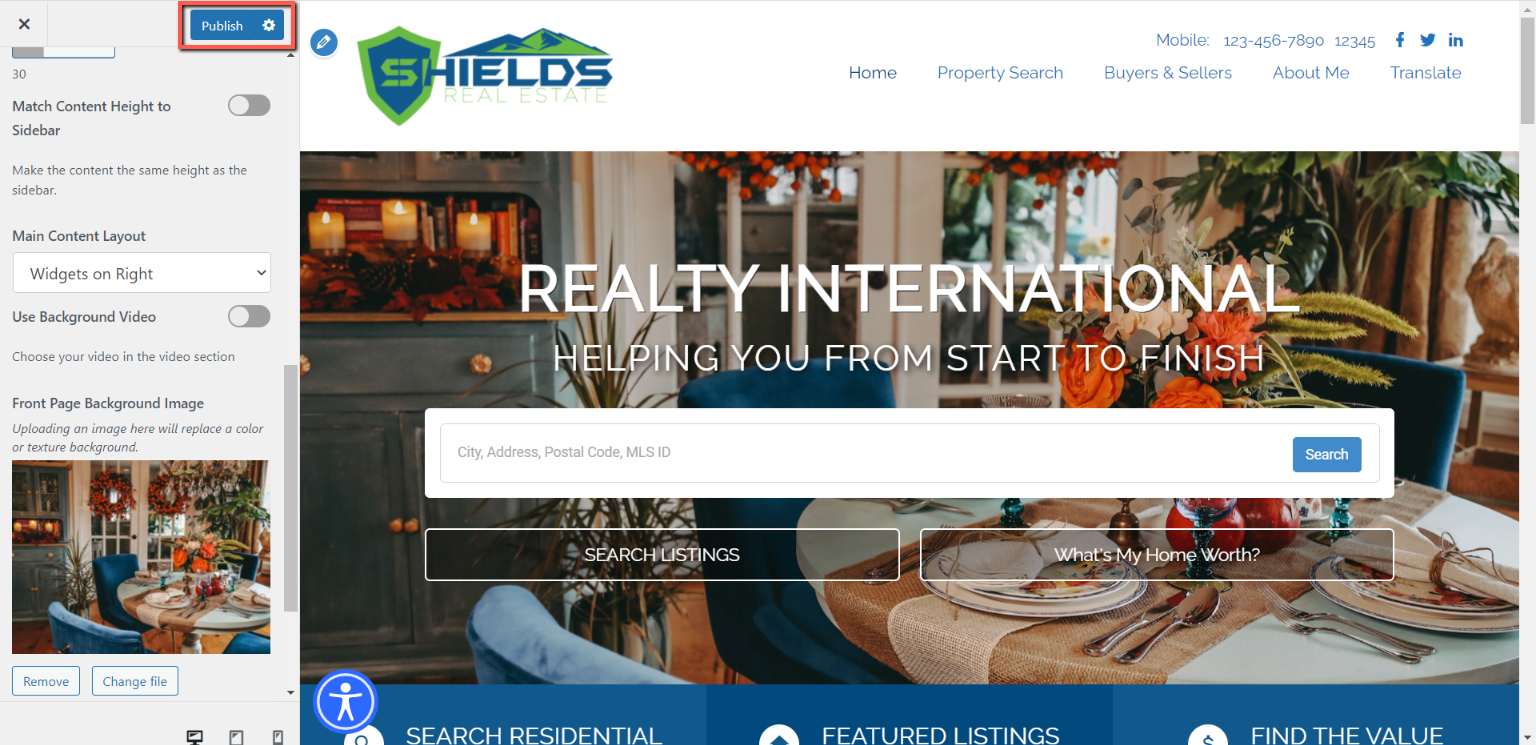
Click on Publish to save.
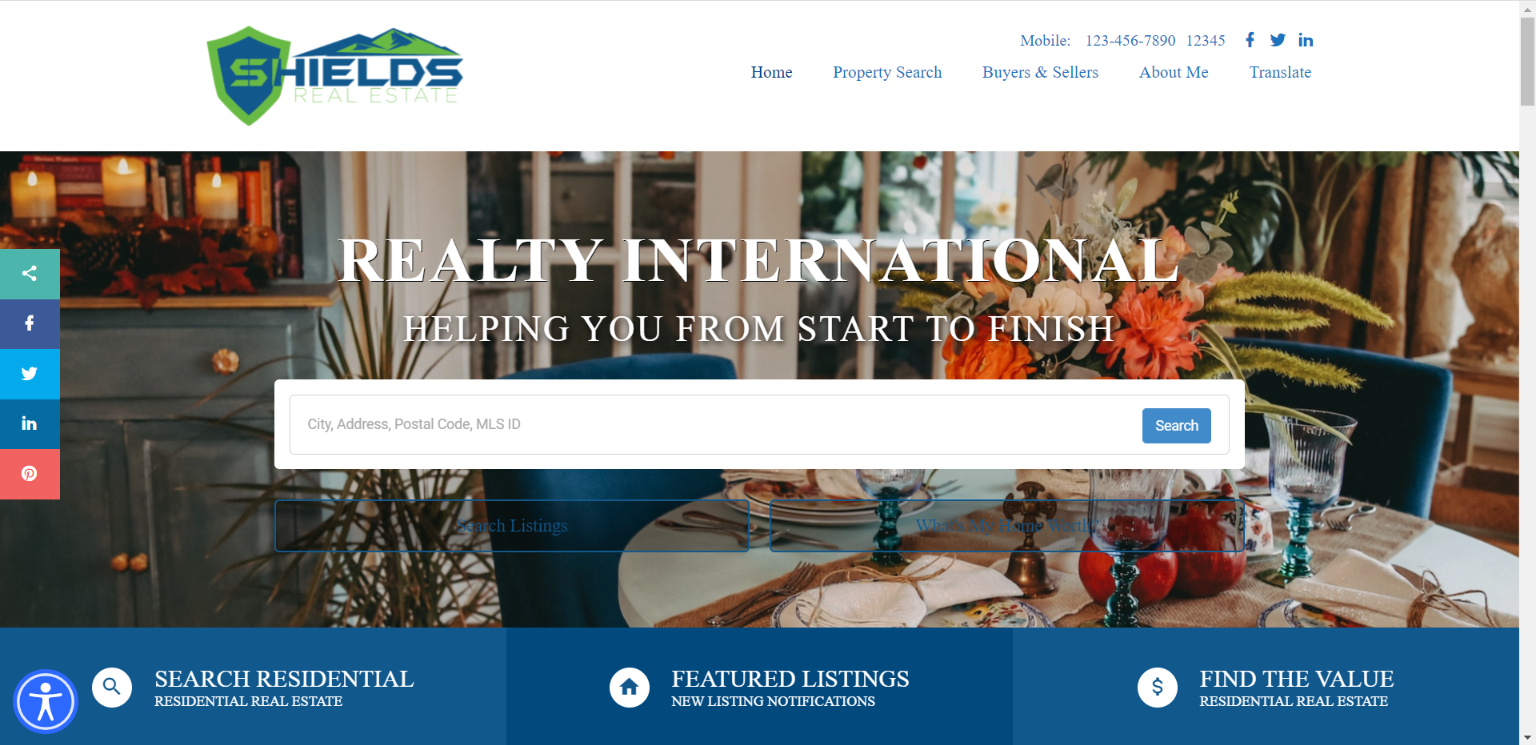
Your site is now updated to your seasonal image!
To change your image back to the video, follow the same steps as above (Favorites waffle icon → Customize → Front Page → General Options).
Scroll down and click on the Use Background Video icon.
Click on Publish to save.
