
Integration and Aggregation
Integration for Gmail
Section titled “Integration for Gmail”-
Navigate to Setup > Account > Integrations.
-
Click the “ADD NEW” button.
-
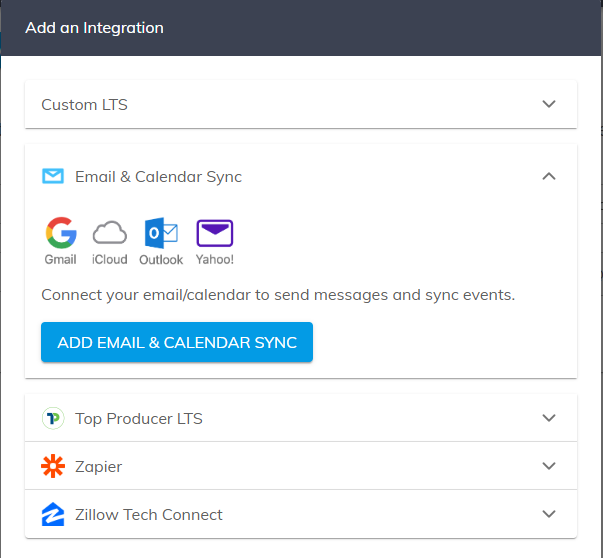
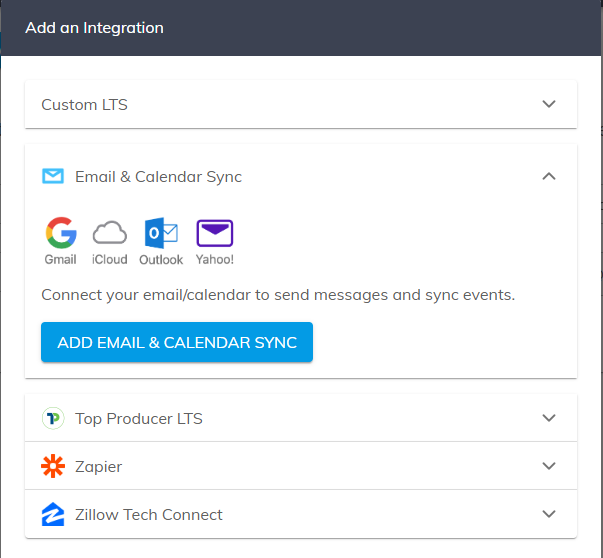
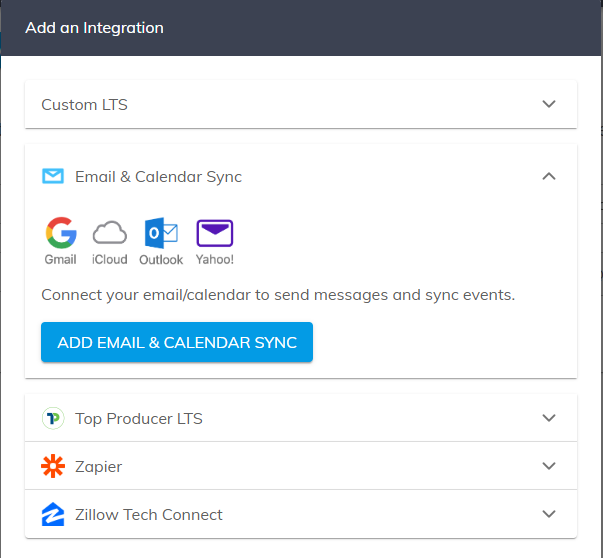
Click the “Emails & Calendar Sync” dropdown and the “ADD EMAIL & CALENDAR SYNC” button.
-
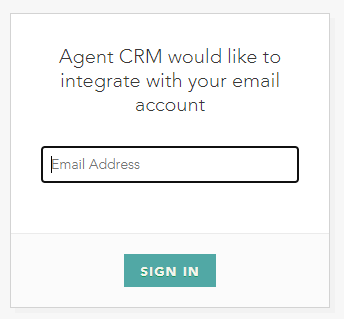
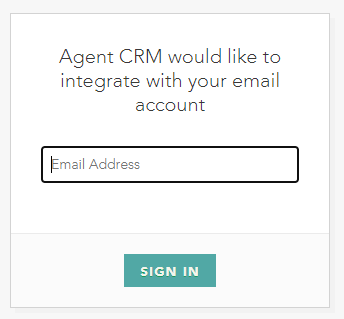
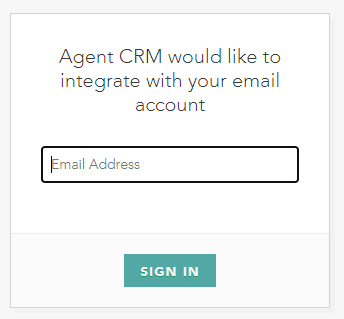
You will be redirected to a page asking you to provide the email address you want to integrate. Enter your email and click the “SIGN IN” button.
-
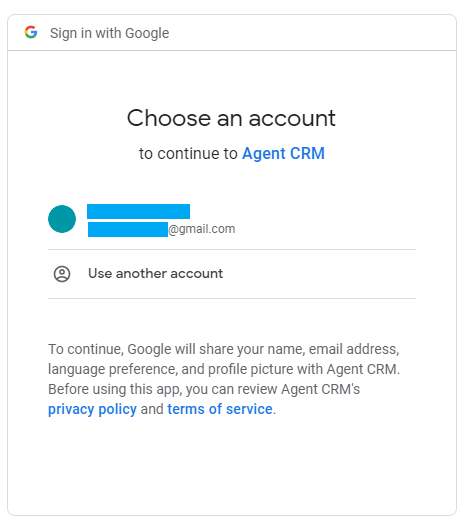
You are then redirected to a Google Sign-in screen. Either choose a Gmail account to integrate with, or enter your Gmail credentials if not logged in.
-
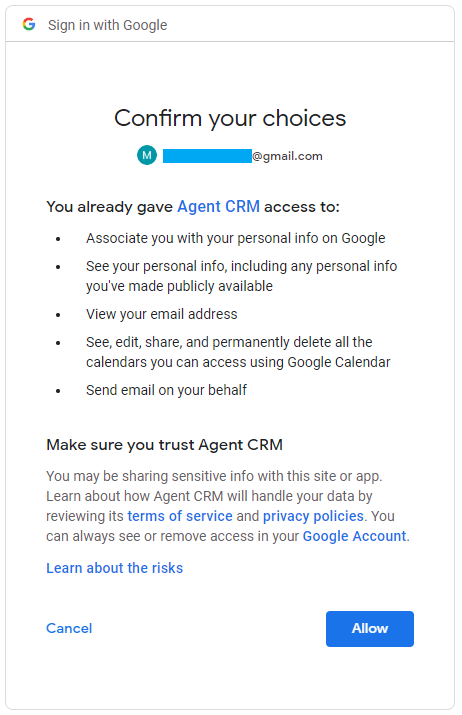
The next screen will ask you to confirm permissions to grant Agent CRM access for the integration. Click the “ALLOW” button.
-
You are then returned to the Integrations page in your Control Panel. If you only want to send emails and don’t need to sync your Calendar account, your integration is complete!
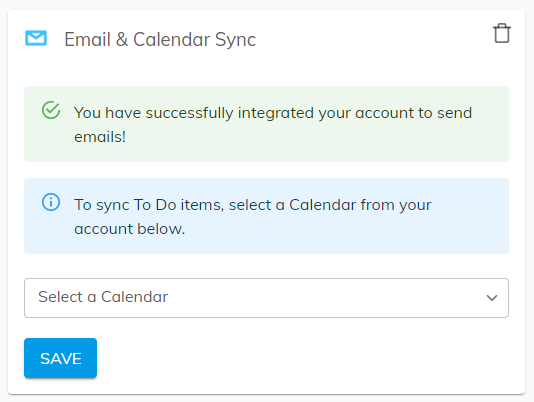
To integrate Calendar with Control Panel.
-
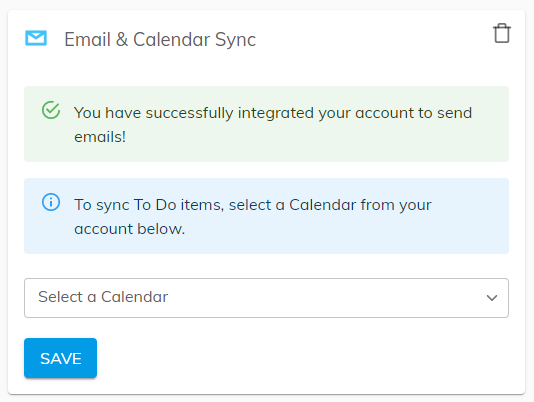
If you do want to sync your To Do list items with your Calendar, use the “Select a Calendar” dropdown to choose a calendar to sync. Then click the “SAVE” button.
-
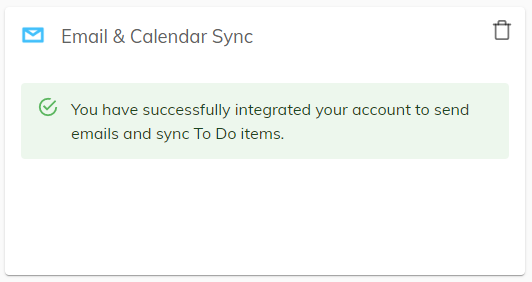
Your Calendar integration is now complete.
Integration for Outlook
Section titled “Integration for Outlook”-
Navigate to Setup > Account > Integrations.
-
Click the “ADD NEW” button.
-
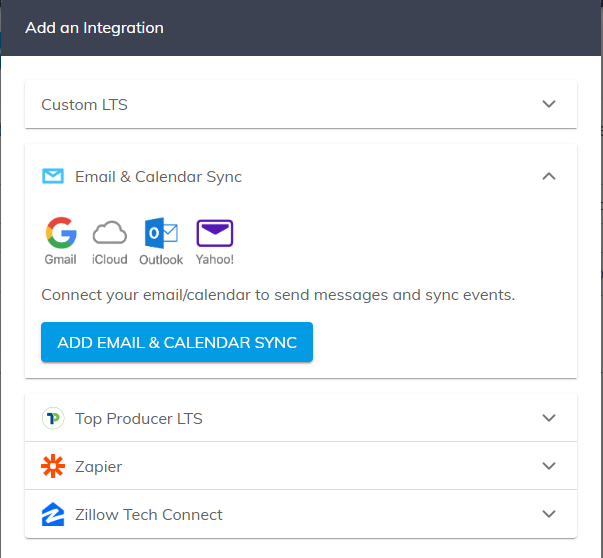
Click the “Emails & Calendar Sync” dropdown and the “ADD EMAIL & CALENDAR SYNC” button.
-
You will be redirected to a page asking you to provide the email address you want to integrate. Enter your email and click the “SIGN IN” button.
-
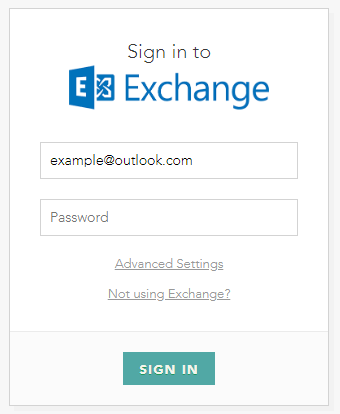
You are then directed to a form to enter your Outlook email and password. Enter your password and select the “SIGN IN” button.
-
If you have activated two-factor authentication for your Outlook account, you will need to generate an app password in this form instead. Read Microsoft’s article on how to generate an app password for your Outlook account here.
-
You are then returned to the Integrations page in your Control Panel. If you only want to send emails and don’t need to sync your Calendar account, your integration is complete!
To integrate Calendar with Control Panel.
-
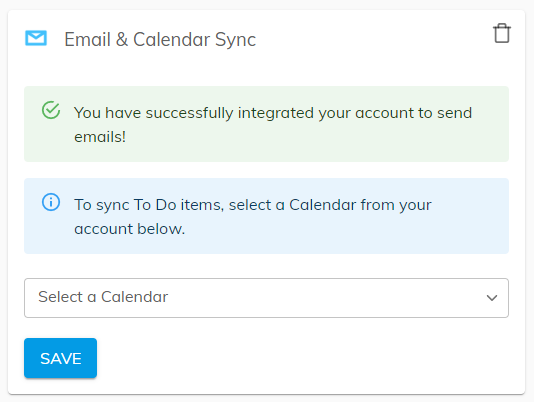
If you do want to sync your To Do list items with your Calendar, use the “Select a Calendar” dropdown to choose a calendar to sync. Then click the “SAVE” button.
-
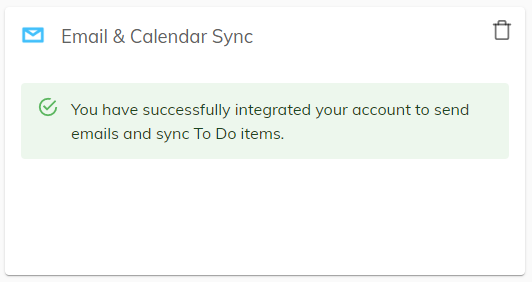
Your calendar integration is now complete.
Integration for Yahoo
Section titled “Integration for Yahoo”-
Navigate to Setup > Account > Integrations.
-
Click the “ADD NEW” button.
-
Click the “Emails & Calendar Sync” dropdown and the “ADD EMAIL & CALENDAR SYNC” button.
-
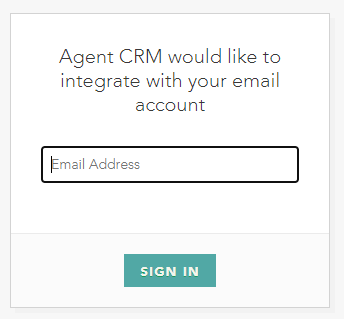
You will be redirected to a page asking you to provide the email address you want to integrate. Enter your email and click the “SIGN IN” button.
-
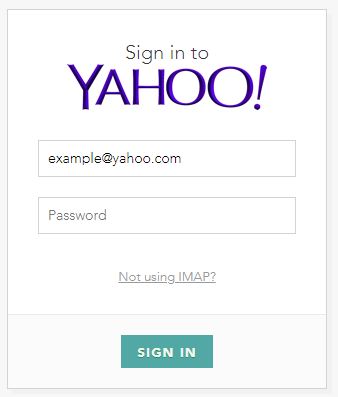
You are then directed to a sign-in form for Yahoo. You will need to use a “generated app password” for this form rather than your usual Yahoo password. To generate this password, read Yahoo’s article on how to generate an app password here.
-
Once you have obtained your generated app password and entered it into the form, click the “SIGN IN” button.
-
You are then returned to the Integrations page in your Control Panel. If you only want to send emails and don’t need to sync your Calendar account, your integration is complete!
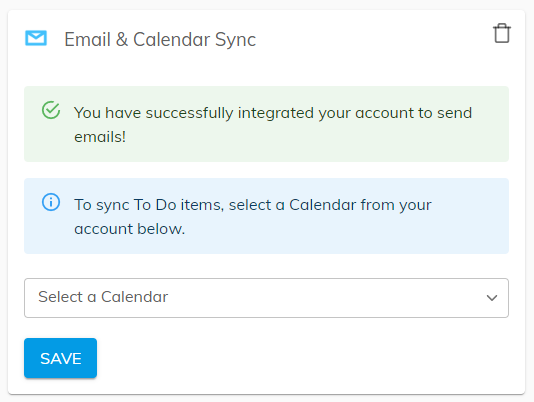
To integrate Calendar with Control Panel.
-
If you do want to sync your To Do list items with your Calendar, use the “Select a Calendar” dropdown to choose a calendar to sync. Then click the “SAVE” button.
-
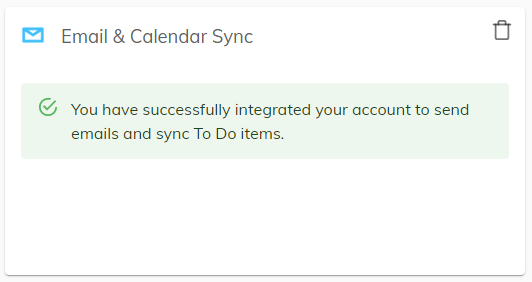
Your calendar integration is now complete.
Integration for iCloud
Section titled “Integration for iCloud”NOTE: iCloud accounts do not support calendar integration.
-
Navigate to Setup > Account > Integrations.
-
Click the “ADD NEW” button.
-
Click the “Emails & Calendar Sync” dropdown and the “ADD EMAIL & CALENDAR SYNC” button.
-
You will be redirected to a page asking you to provide the email address you want to integrate. Enter your iCloud email and click the “SIGN IN” button.
-
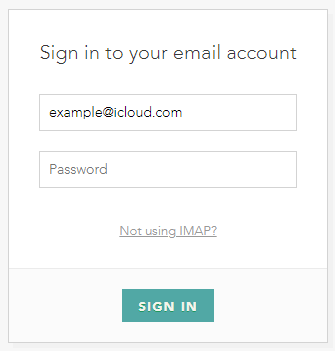
You are then directed to a sign-in form for iCloud. You will need to use an “app-specific password” for this form rather than your usual iCloud password. To generate this password, read Apple’s article on how to generate an app-specific password here.
-
Once you have obtained your app-specific password and entered it into the form, click the “SIGN IN” button.
-
You are then returned to the Integrations page in your Control Panel. Your email integration is complete!
Integration for Other Email Providers
Section titled “Integration for Other Email Providers”-
Navigate to Setup > Account > Integrations.
-
Click the “ADD NEW” button.
-
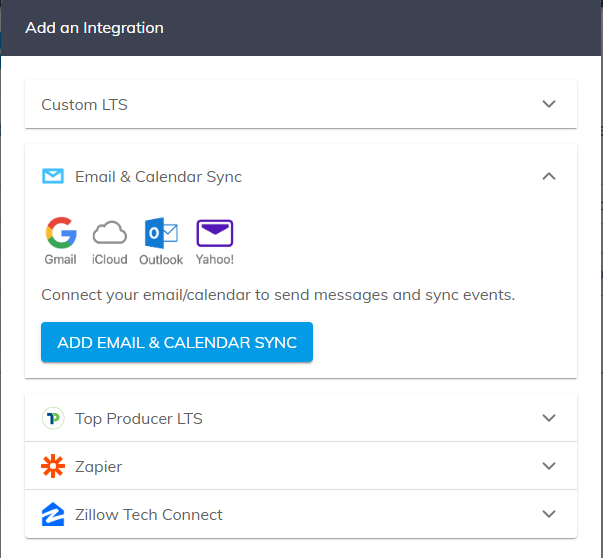
Click the “Emails & Calendar Sync” dropdown and the “ADD EMAIL & CALENDAR SYNC” button.
-
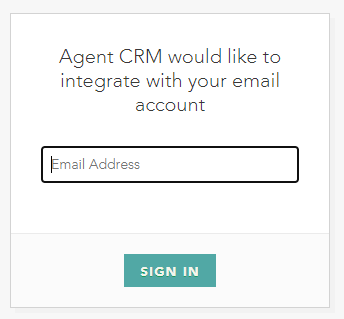
You will be redirected to a page asking you to provide the email address you want to integrate. Enter your email and click the “SIGN IN” button.
-
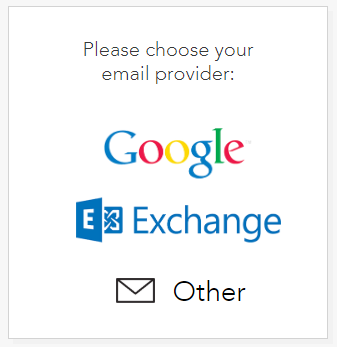
You are then directed to select which email provider you use – select the Other icon.
-
Enter your account password and input IMAP and SMTP settings in the provided form. You can typically find IMAP and SMTP server connection information in your email provider’s help articles or settings.
- Email: the email address you are integrating with
- Password: the password for the email account
- IMAP Host:
- Port (for IMAP): defaults to 993
- SMTP Host:
- Port (for SMTP): defaults to 587
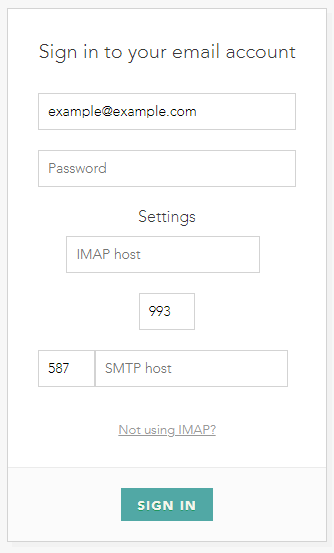
-
After you fill in all the form fields, click the “SIGN IN” button.
-
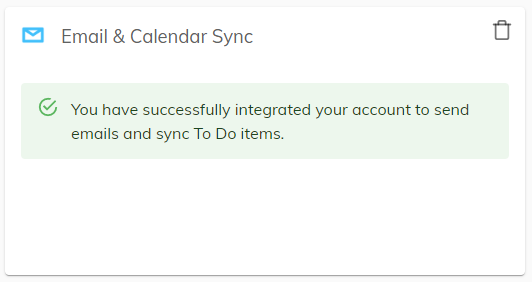
You are then returned to the Integrations page in your Control Panel. If you only want to send emails and don’t need to sync your Calendar account, your integration is complete.
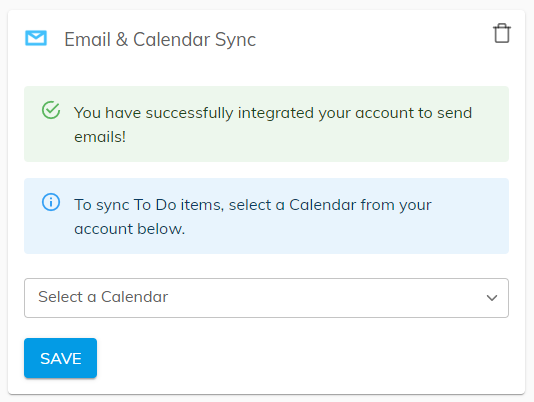
To integrate Calendar with Control Panel.
-
If you do want to sync your To Do list items with your Calendar, use the “Select a Calendar” dropdown to choose a calendar to sync. Then click the “SAVE” button.
-
Your calendar integration is now complete.
Lead Aggregation
Section titled “Lead Aggregation”Lead aggregation refers to collecting and organizing leads from multiple sources to consolidate them into a single database or platform, which can then be sold or distributed.
Lead Aggregation Email:
You must have a lead aggregation email address to use these features.
-
Where to find the lead aggregation email:
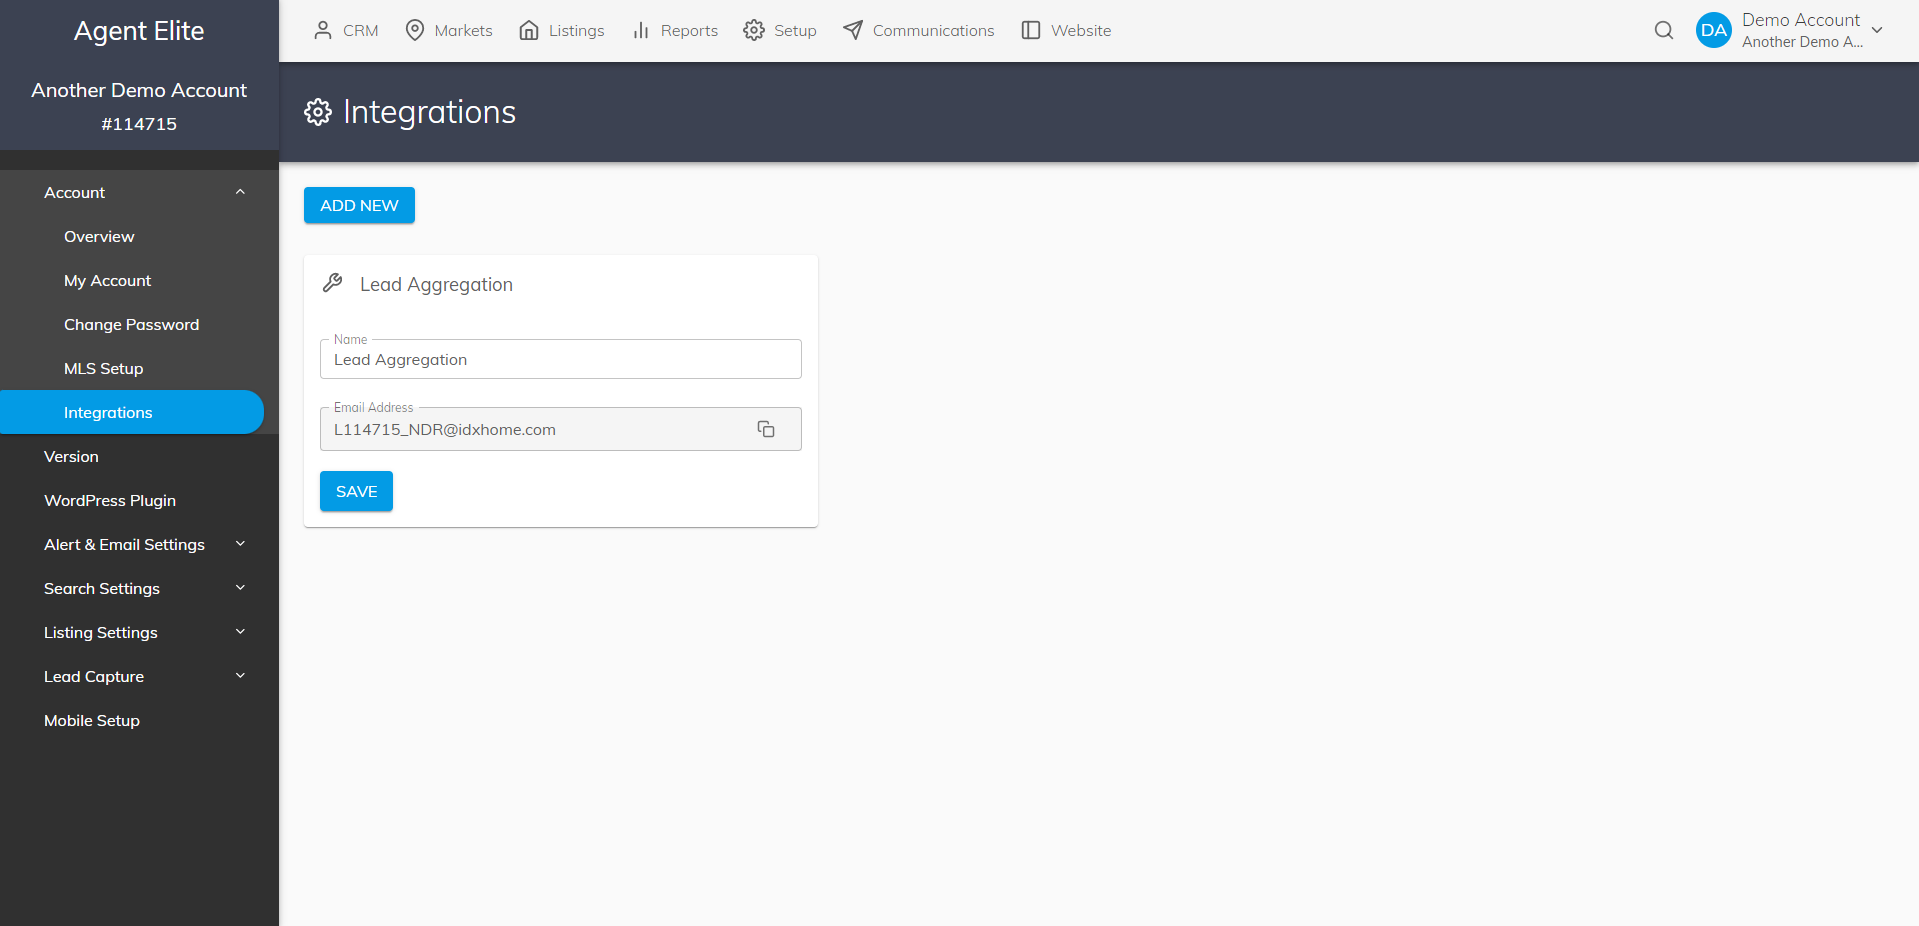
- You can find your lead aggregation email address by going to Setup > Account > Integrations > Add New in your Control Panel. Click “Lead Aggregation,” and it will be displayed.
Zillow Connect
Section titled “Zillow Connect”Leads from Zillow and Trulia services can automatically import into your AE CRM.
If you acquire leads through Zillow and Trulia services, Marketing Automation can automatically import new leads from these services into your Agent Elite CRM. And they can be automatically placed into Marketing Automation follow-up campaigns.
How to use Zillow Connect:
- Log into your Agent Elite CRM
- Go to SETUP > Integrations, then select Add an Integration
- Open the new Integration that was added
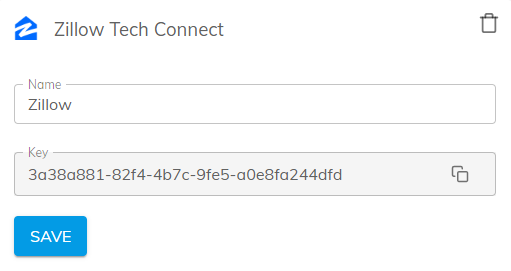
- Copy the Zillow and Trulia Tech Connect key
- Paste your Zillow and Trulia Tech Connect key into your Premier Agent account.
- Access Premier Agent at https://premieragent.zillow.com/crm/agentlogin/ and log in
- Select “Connect to my CRM” and choose iHomefinder from the drop-down menu
- Paste the copied key in the Partner ID field
- Your accounts are now connected!
Zillow Integration
Section titled “Zillow Integration”How to forward your Zillow leads into your AE CRM
From the Website Dashboard, go to your CRM and click on the green bar that says View Leads.
Once in the CRM, click on Setup in the top menu. Then click Integrations on the left menu.
- Click Add New.
- Select Lead Aggregation Email from the dropdown.
- Copy the Email Address provided.
- Go to Zillow Premier Agent and log in.
- Go to your Inbox by clicking the dropdown icon next to your name in the top right corner.
- Go to Settings by clicking on the dropdown icon next to your picture/avatar in the top right corner.
- Click on Integrations on the left-hand side.
- Click on Lead Forwarding on the left.
- Click on Edit Lead Forwarding Settings.
- Select Forward Indefinitely.
- In the Forward To box, paste the email address you copied in your CRM.
- Click on Add.
To the right of the Forward To box, you should see a box called Recipients. Make sure this box has the correct email address listed.
- Click Save.
This process will automatically forward your Zillow leads into your AE CRM.