
Email blasts and newsletters
Agent Elite Max - Easy and Effective Email Blasts and Newsletters
Section titled “Agent Elite Max - Easy and Effective Email Blasts and Newsletters”In this session, we’ll walk through how to create email blasts, newsletters, and other types of email content using the Agent Elite Max platform. This tool simplifies email creation, helping you save time while maintaining effective communication with your leads.
1. Accessing the Email Tools
Start by logging into the Agent Elite Max platform and navigating to the “Communications” tab at the top of the screen. In the left sidebar, you’ll see the option to create a new email. From here, you can begin drafting your email just like you would in any other email platform, starting with a subject line.
2. Selecting Recipients
To add recipients, click on “Select Lead” to choose from your existing leads database, or use the “Create List” option to sort leads based on specific criteria. For example, you can filter leads by their activity level, allowing you to target less engaged leads—those with a rating of 0 or 1 star. This helps focus your outreach on leads that may need extra attention, increasing the chances of re-engaging them.
3. Creating and Customizing Your Email
Agent Elite Max offers a drag-and-drop email editor that makes it simple to design your email. To add images, drag an image block into the email, then upload images from your computer or generate them using the built-in AI tool. After choosing or customizing an image, move on to adding text by dragging a text block into your email. Use the Smart Text tool to generate content based on your prompt. Though AI-generated, always review the text to ensure it aligns with your message.
You can also add a call-to-action (CTA) by dragging a button block into the email. Customize the button text and link it to the desired action, such as sending an email or redirecting users to a webpage. The AI tools can help suggest text for the button to further streamline the process.
4. Scheduling and Sending Your Email
Once your email design is complete, decide when to send it. You can either send it immediately or schedule it for a specific date and time by selecting the “Send Later” option. If you’ve designed a newsletter using the Agent Elite Design Studio or another tool, simply upload it into the platform and follow the same steps to schedule and send it.
The Agent Elite Max platform provides a user-friendly interface for creating and managing email campaigns. By leveraging the AI tools, you can easily design, customize, and schedule email blasts and newsletters. With features like lead filtering, personalized content, and drag-and-drop functionality, this platform helps you reach the right prospects at the right time, ultimately driving engagement and increasing conversions.
Step-By-Step Instruction
-
From the Performance Dashboard access the Communications Tab
- Click on the Communications tab at the top of the screen.
- In the left sidebar, confirm that you’re in a new email.
-
Add a Subject Line
- Start by entering a subject line for your email.
-
Choose Your Recipients
-
Select from existing leads:
- Click Select Lead and choose specific leads from your database.
-
Create a custom list:
-
Click Create List to filter leads by criteria such as lead rating.
- Example: Select leads with a 0 or 1-star rating to target less-engaged contacts.
-
After making your selections, click Add Leads.
-
-
-
Design Your Email Using Drag-and-Drop Blocks
-
Add an Image:
-
Drag an image block into your email.
-
Upload an image from your computer or use the AI image generator.
-
Using the AI Image Generator:
- Enter a text prompt to generate an image.
- The AI will provide several alternative prompts—choose one or continue with your original prompt.
- Make stylistic adjustments (e.g., design styles, cropping, or rounded corners) until satisfied.
-
-
-
Add Text:
-
Drag a text block into your email.
-
Highlight the placeholder text and type your content.
-
Using AI for Text Creation:
- Enter a text idea and click Smart Text.
- Choose from the options (e.g., Expand Text) to generate paragraphs.
- Review and edit the AI-generated content to match your tone and message.
-
-
-
Add a Call to Action (CTA) Button
-
Drag a button block into the email.
-
Customize the button text using AI-generated suggestions.
-
Set the button action (e.g., send an email) by entering:
- Email address
- Subject line
- Email body
-
-
-
Schedule or Send Your Email
- Send Now: Click Send Now to send the email immediately.
- Send Later: Choose Send Later to specify the date and time for scheduled delivery.
Agent Elite Max - Use a Newsletter Template from Your Design Studio
Section titled “Agent Elite Max - Use a Newsletter Template from Your Design Studio”-
Start with a new email blast.
-
Add a subject line and select your recipients (e.g., All Leads).
- Drag an image block into your email.
- Upload your newsletter template:
-
-
Click on the image block and upload the HTML newsletter file from your computer.
-
Review the design to ensure everything is correctly displayed.
-
Schedule the Newsletter
- Choose whether to send the newsletter immediately or schedule it for a later time.
Max Basics - Create an Email Blast
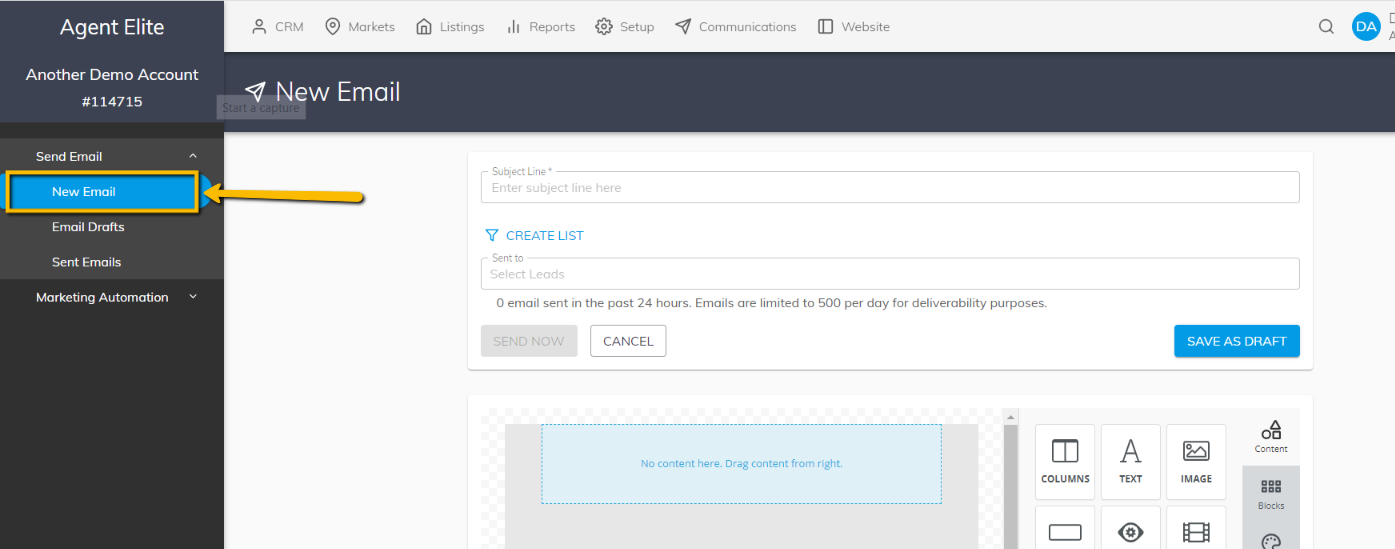
Section titled “Max Basics - Create an Email Blast”Click on Communications at the top.

Select New Email from the left column.
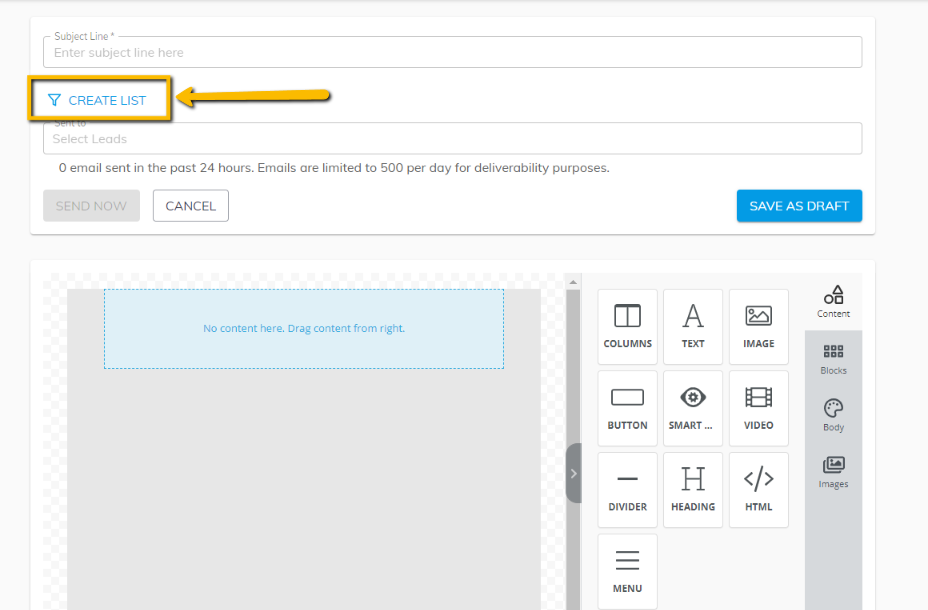
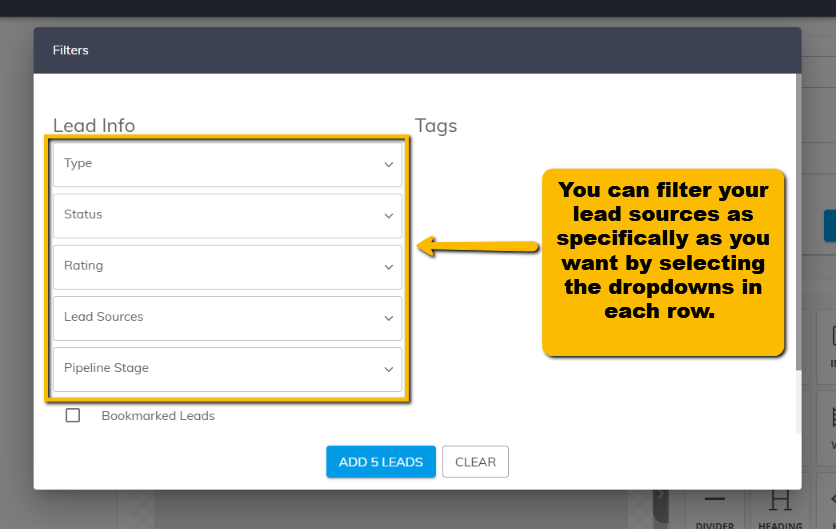
Click on Create List.
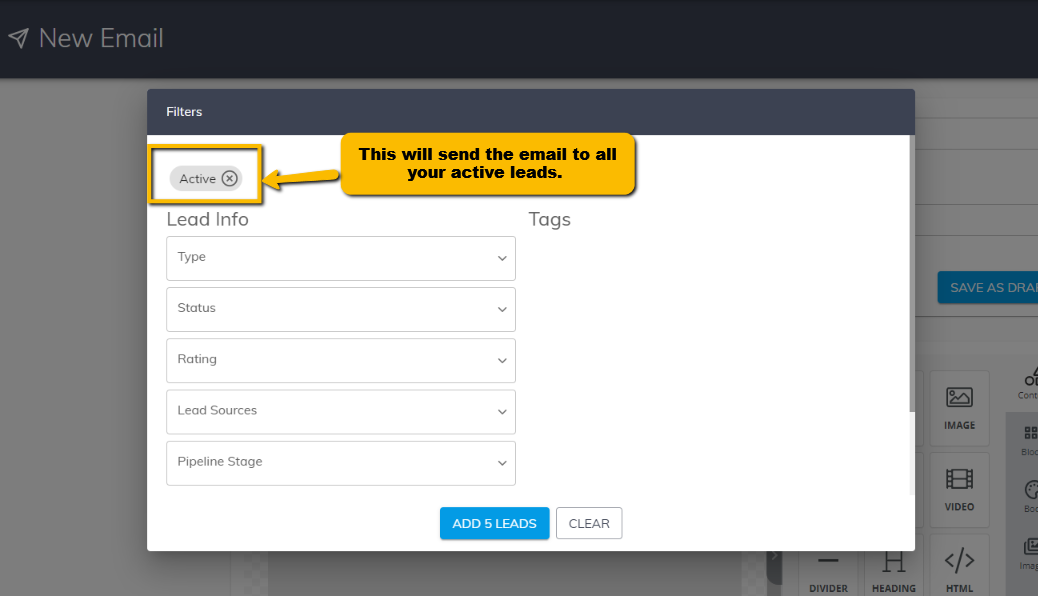
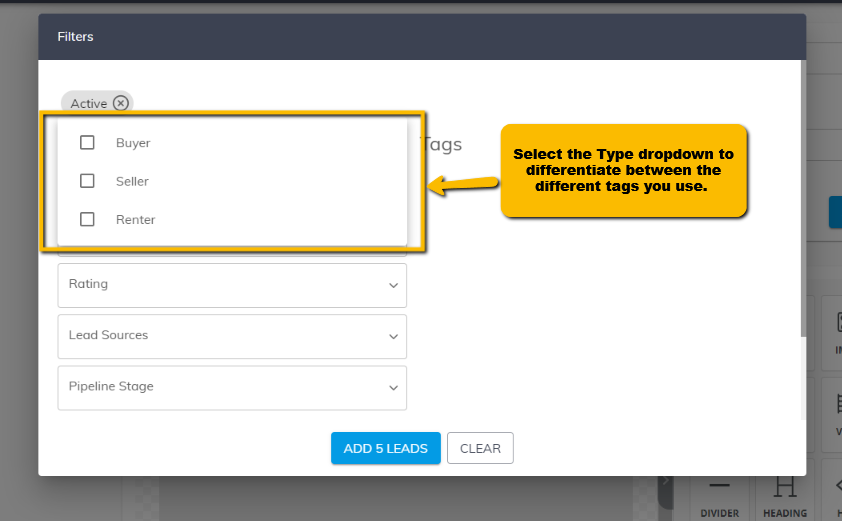
You will see a box appear. Pick the list to whom you want to send the email. See details below.
Next, enter your Subject Line.

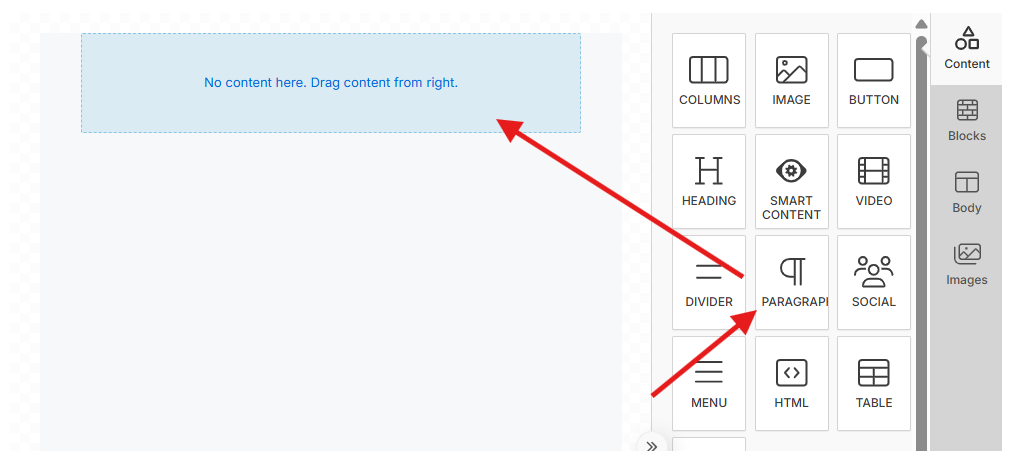
Next, add content to the body. Start by clicking on the Paragraph element and dragging and dropping it into the body of the email. Click in the text box inside the email, and you’ll see the formatting toolbar, which gives you more options. To add a picture, click on the Image icon, drag and drop it into the email, and then upload an image.
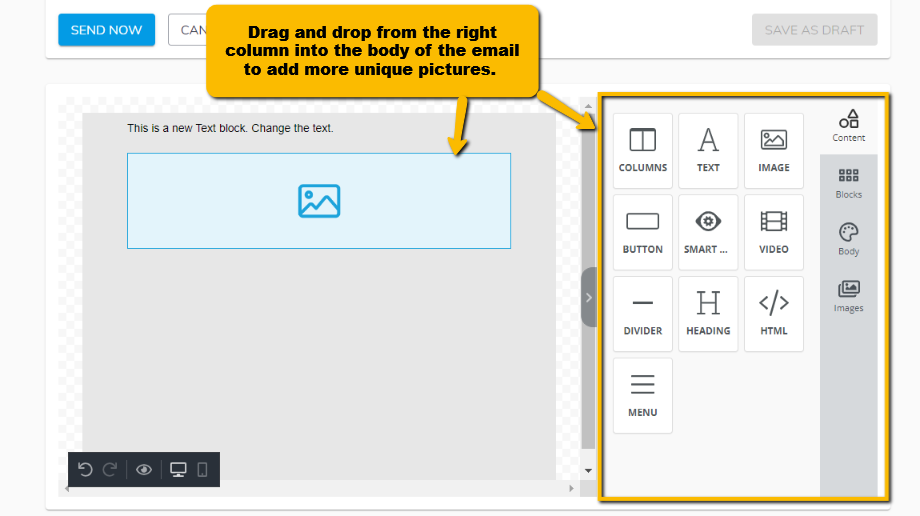
To add more specialized content, drag and drop the icon from the right into the body of the email.
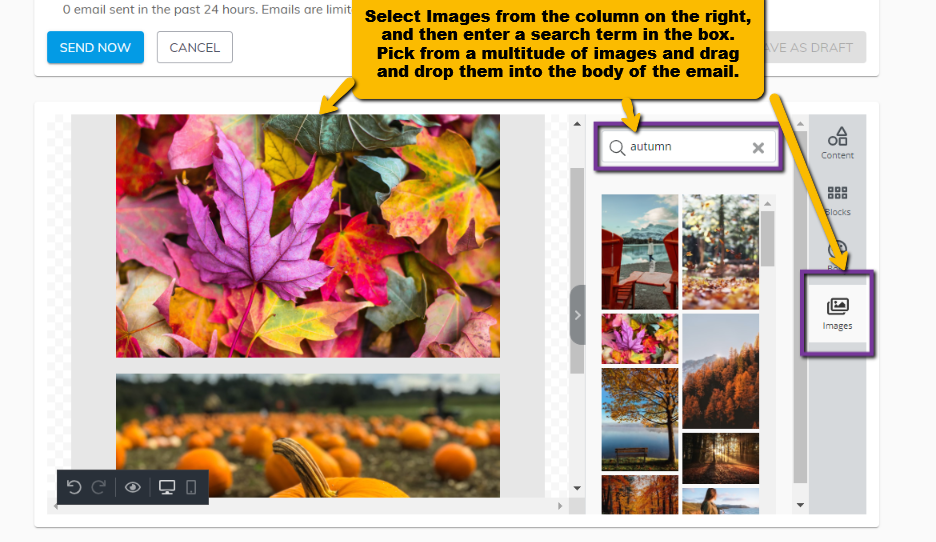
Hint: Add special themes and holiday decor to your blast emails by selecting the Images button to the right. You have access to a multitude of free public images here. You can enter a search term in the search box, click on the image you want to use, and drag and drop it into the body of the email.
Click Send Now or Send Later when finished.
Max Basics - Use the AI Components for Emails
Section titled “Max Basics - Use the AI Components for Emails”Login to the dashboard
Click “Leads” in your menu bar
Click “Communications” from the top nav bar

The following blocks are the ONLY ones that allow AI content creation
- Button
- Paragraph
- Image
- Heading
To use these blocks go to “New Email” and drag one of the blocks onto the email body and then click on the block
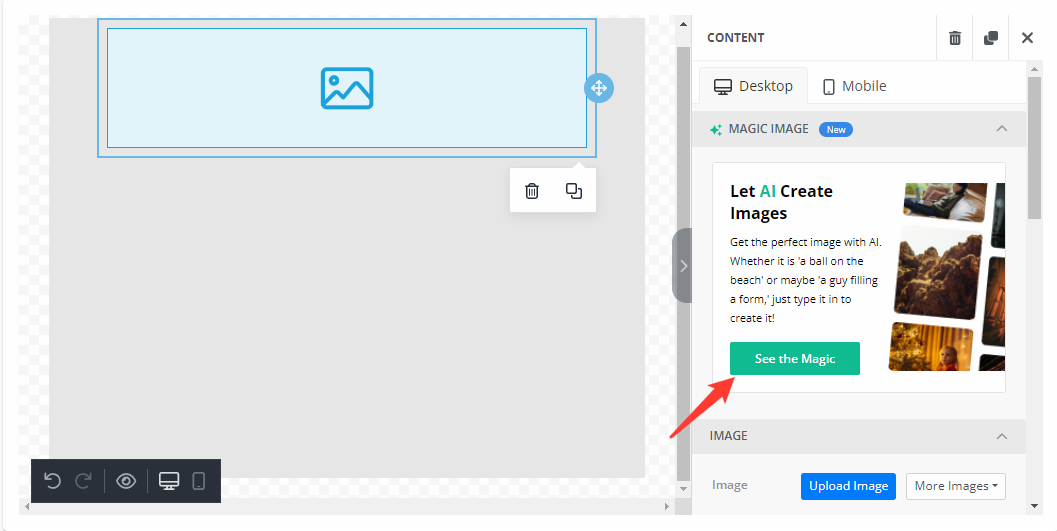
Once you click the block there will be an option for either “Smart Text” or “See the Magic”
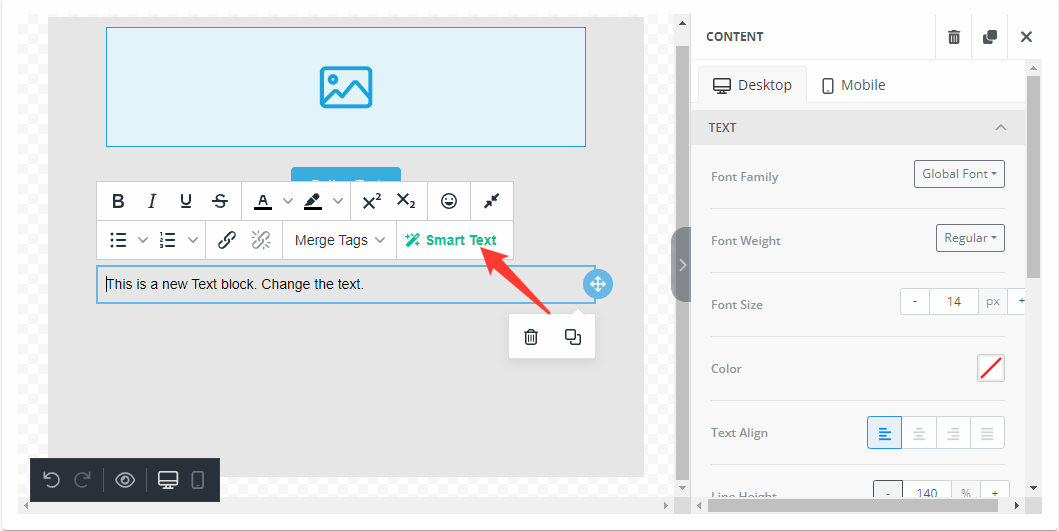
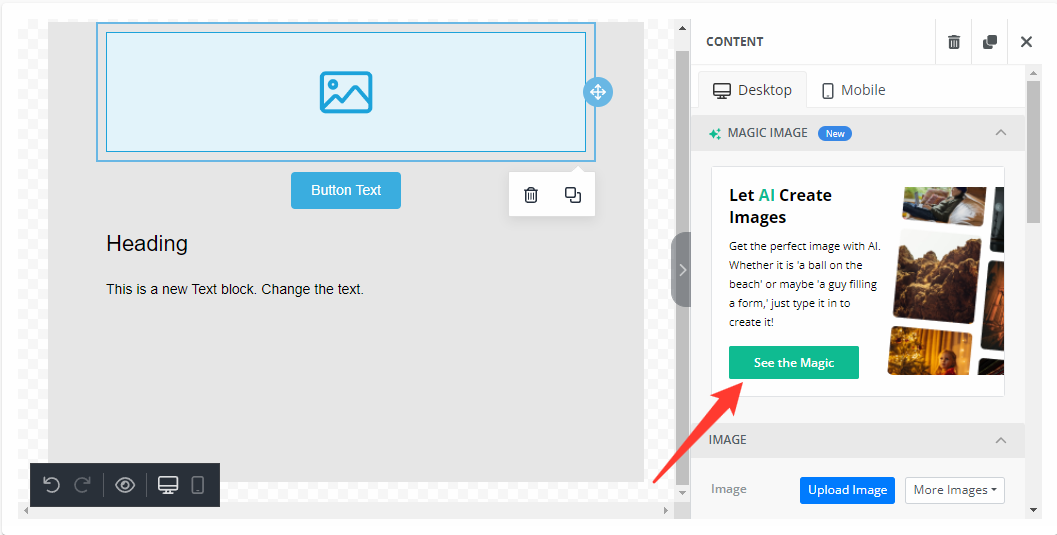
Text Block
Once you drag the text block over begin typing your content.
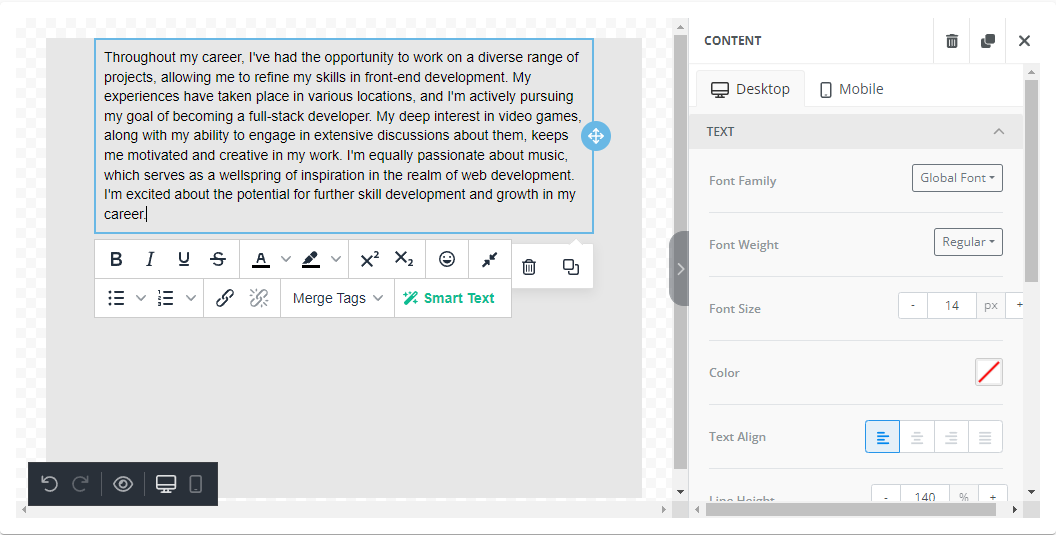
Once you are finished typing click “Smart Text”
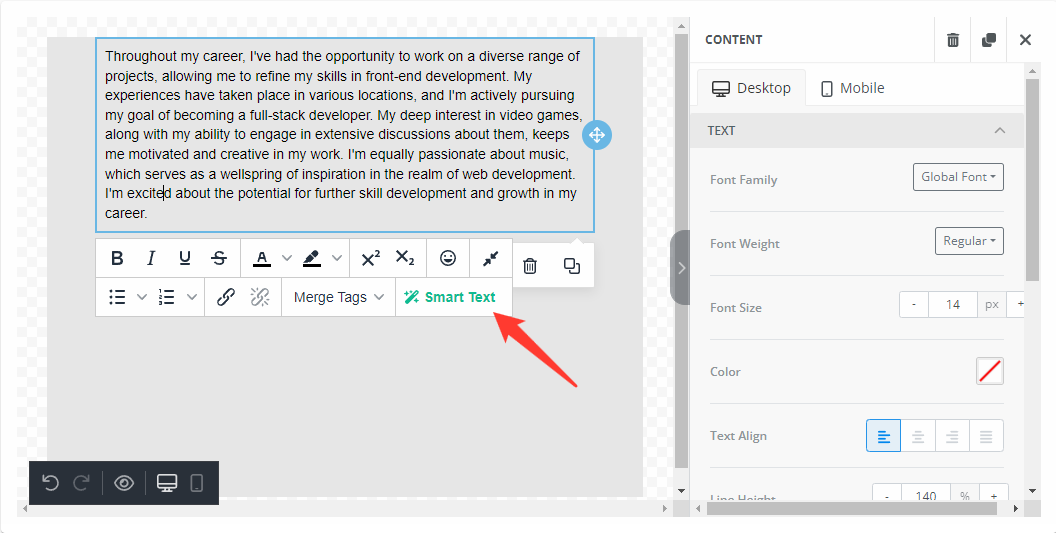
Once you click “Smart Text” you will get a popup of the following options
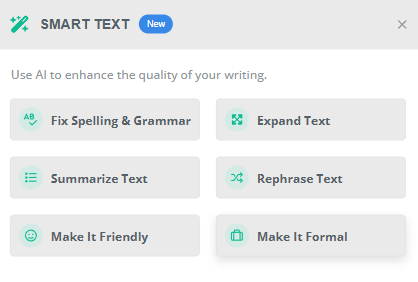
Once you select one the AI will rewrite/rephrase the content to what was clicked
This is an example of “make it Friendly”
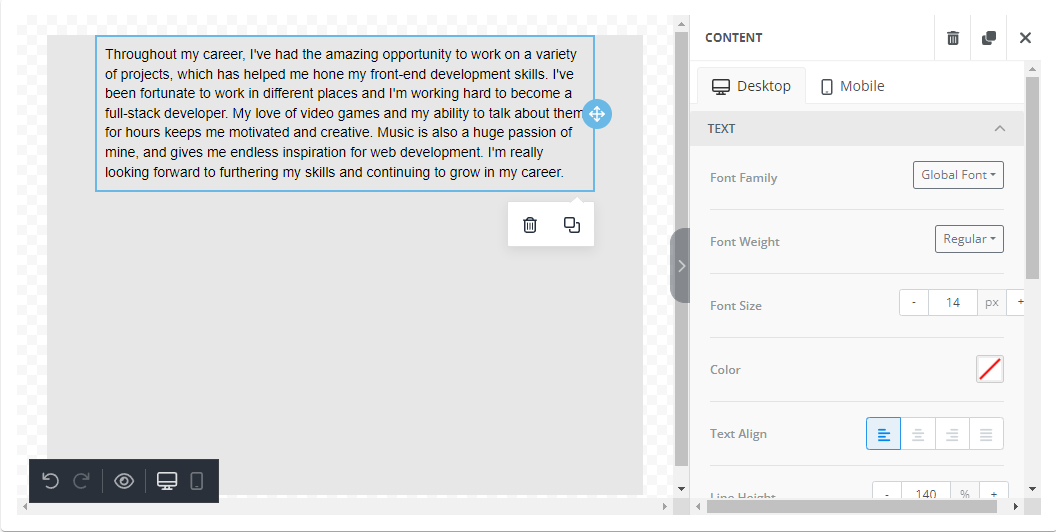
Image Block
Once you drag the image block over click the block and select “See the Magic”
In the text prompt field, describe in detail what image you want.
- Example: “picture of someone on a bench, absorbed in their thoughts”
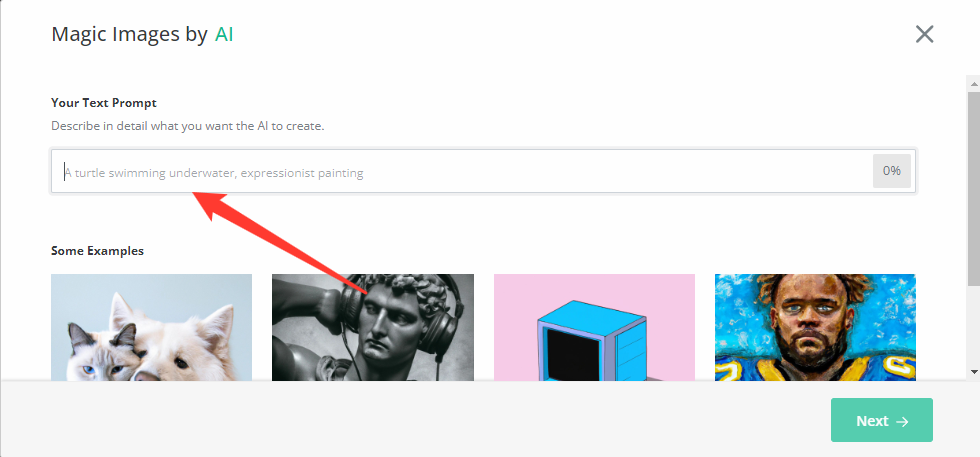
Once you provide a description and click “Next” the AI will generate options of what you described
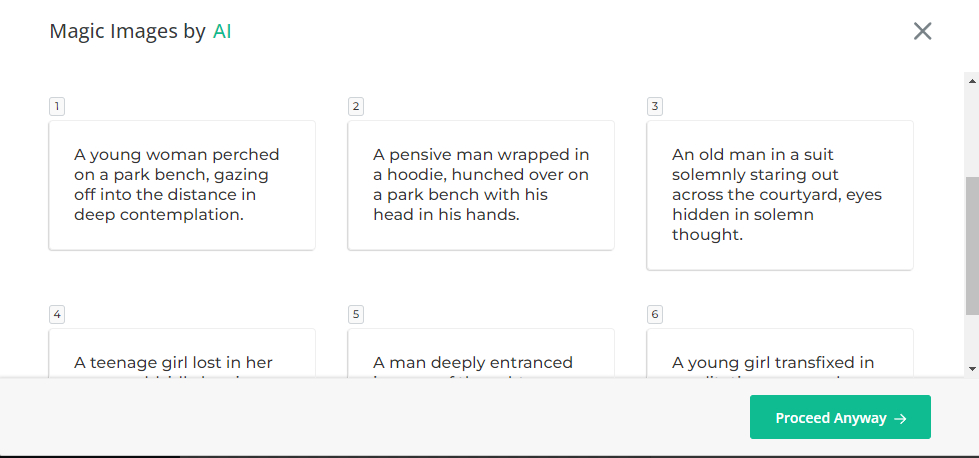
Select an option and click “Generate” once done it will give you 4 options to choose from
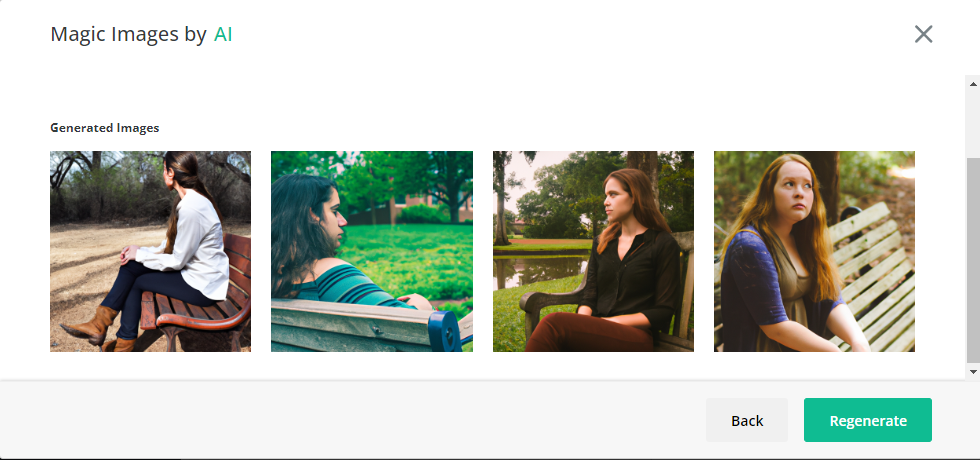
If you don’t like the 4 provided click “Regenerate” to get 4 new images
Button Block
Once you drag the button block over click the block and select “See the Magic”
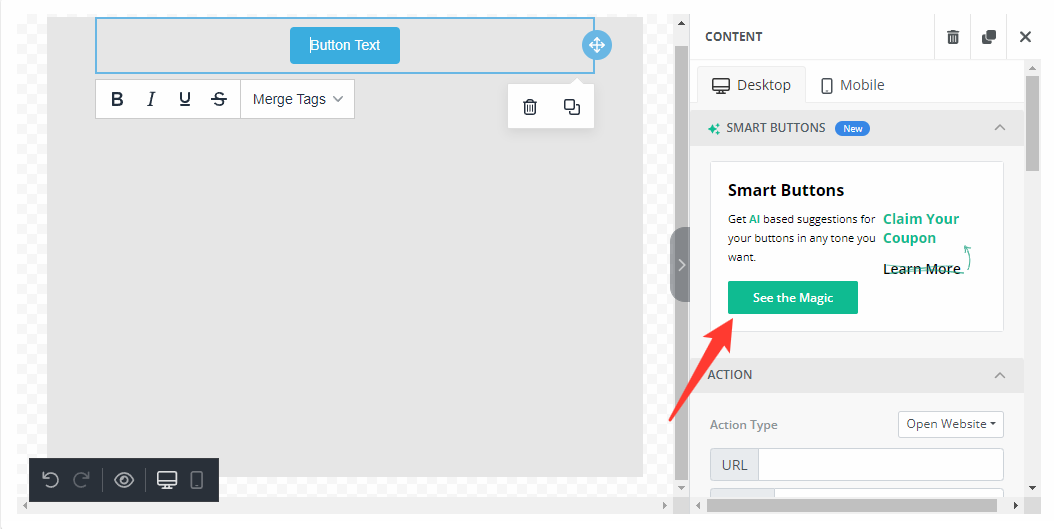
Provide the field a little bit of text on what you want the button to say then click “Get Suggestions”
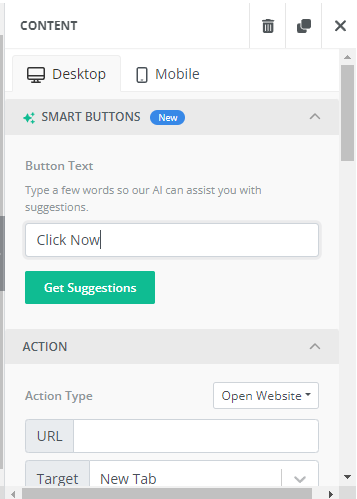
It will generate 5 options of alternative text for the button
Heading Block
The heading block works just like the Button block